VMware Horizon View
WWPass Authentication Implementation Guide for VMware Horizon View - RADIUS based
CHAPTER 1 – OVERVIEW
WWPass External Authentication Service (WWPass EAS) is a RADIUS-based authentication solution which allows you to replace username and password authentication with WWPass multi-factor authentication technology in any software environment that supports RADIUS protocol for user authentication.
WWPass EAS is based on FreeRADIUS – the most widely deployed RADIUS server in the world – and extends its functionality by adding support for WWPass Authentication Technology. WWPass EAS comes in a form of a virtual appliance running Ubuntu Linux that can be deployed into your organization virtual infrastructure. Once deployed and configured it becomes the authentication backend for the software used in your organization.
This document describes steps to deploy and configure WWPass EAS. It covers deployment of WWPass EAS in a VMWare ESXi based virtual environment, installing WWPass Service Provider certificate files, configuring WWPass EAS with Microsoft Active Directory servers and user registration.
Despite VMWare ESXi has been chosen as a virtual infrastructure provider, it is not a mandatory requirement. The virtual appliance is shipped as an Open Virtualization Format (OVF) file and can be deployed on Oracle VirtualBox and Microsoft Hyper-V virtualization platforms as well.
Microsoft Active Directory is also an optional requirement and it is possible to configure WWPass EAS without access to Active Directory servers.
Should you have any questions about WWPass EAS, please contact WWPass support at support@wwpass.com
Related Documentation
Here is a list of all documentation which was used:
- http://wiki.freeradius.org/guide/NTLM-Auth-with-PAP-HOWTO
- https://communities.vmware.com/docs/DOC-19448
- https://help.ubuntu.com/community/ActiveDirectoryWinbindHowto
- http://freeradius.org/radiusd/man/unlang.html
CHAPTER 2 – REQUIREMENTS
Below is the list of requirements for the WWPass EAS Virtual Appliance for VMware Horizon View (RADIUS based).
Virtual Machine deployment Requirements
- CPU - 1 or more
- Memory - 512 Mb or more
- Disc size - 2 Gb or more
- Network interfaces - 1 or more
- VMware vSphere ESXi - 4.0 or later
- VMware Horizon View Connection Server - 5.1 or later
- WWPass Service Provider certificates - contact WWPass by phone or email at support@wwpass.com
User computers Requirements
- Operating System - Microsoft Windows 7 or later (32-bit and 64-bit)
- Web Browser
- Internet Explorer - 9 or later (32-bit and 64-bit)
- Firefox - 20 or later
- VMware Horizon Client - 5.1 or later
- WWPass Security Pack - 3.3 or later
- WWPass Key - activated
CHAPTER 3 – IMPORT / DEPLOY AN OVF TEMPLATE TO A VIRTUAL MACHINE
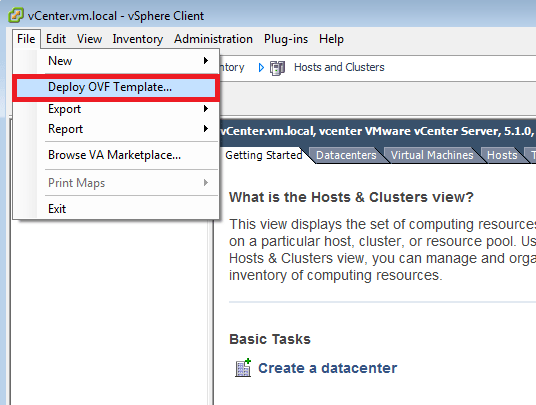
To import / deploy an OVF Template to a Virtual Machine VMware vSphere Client is used:
- Open File tab on the top menu and select Deploy OVF Template.
- Click


- Find the wwpass-eas.ovf file on your computer. Select the file and click
 Click
Click 

- Read the details and click

- Enter the new VM name. For example, wwpass-eas . Click
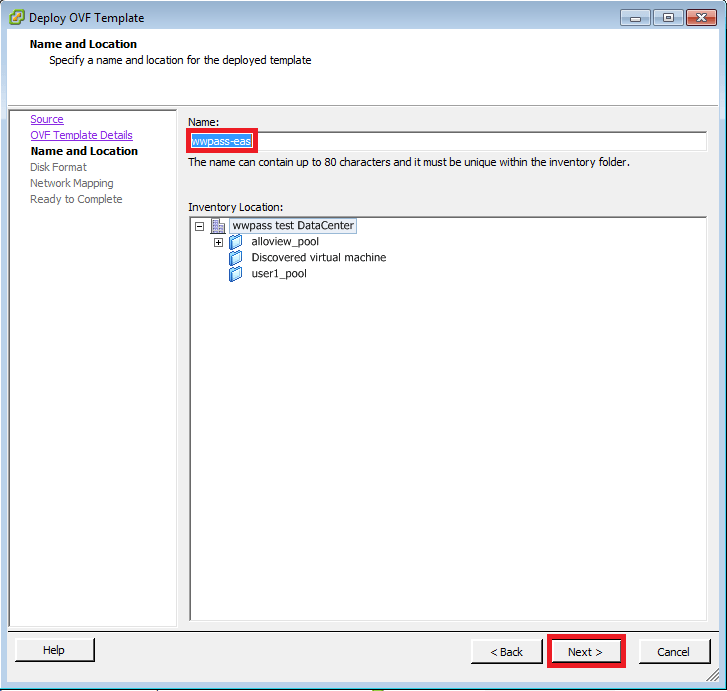
- Select the host or cluster on which the deployed template will be running. Click
If you are connected to hypervisor as opposed to vCenter Server this screen will be absent.

- Keep the default format for the new VM to use. Click

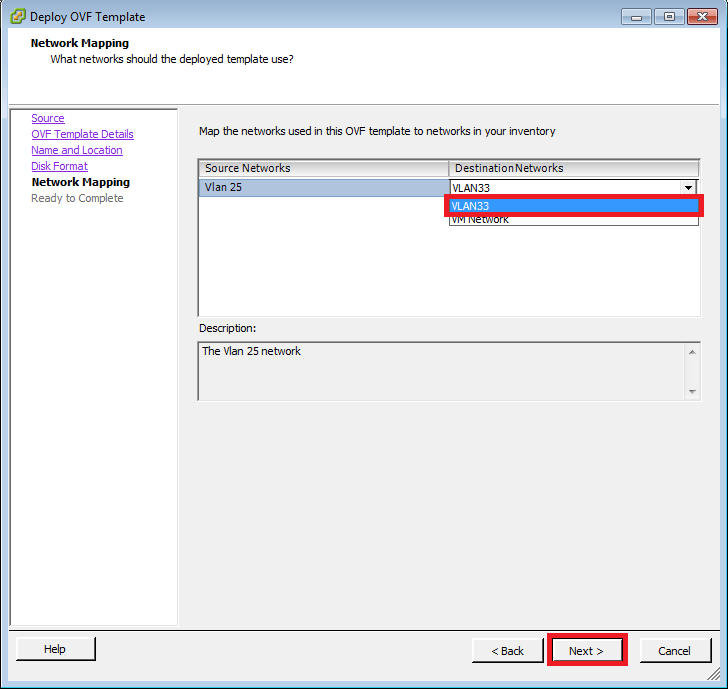
- Select the networks the VM to use. Click
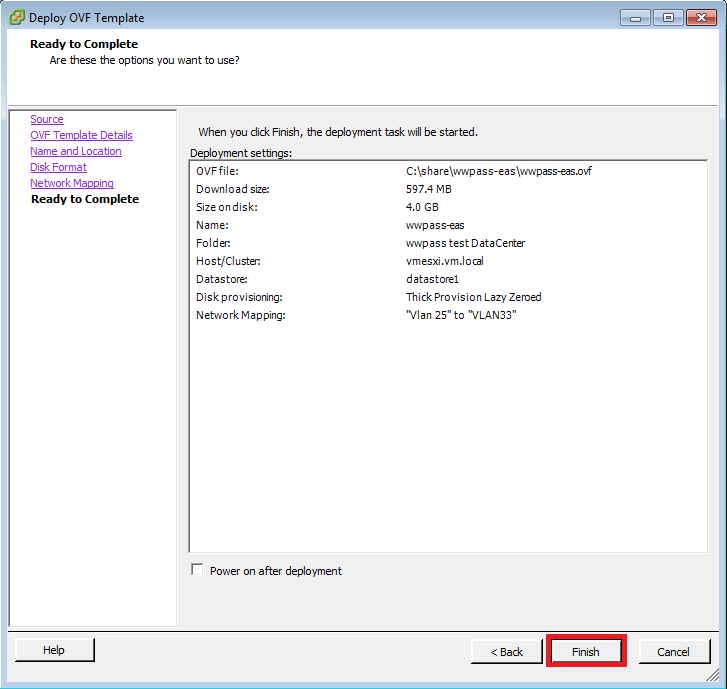
- Read the summary and click

- Please, wait. When the VM is successfully deployed, click


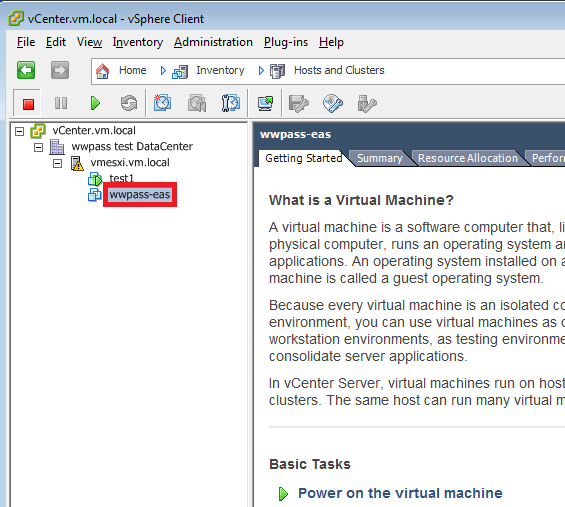
- Select the deployed VM in the left menu.
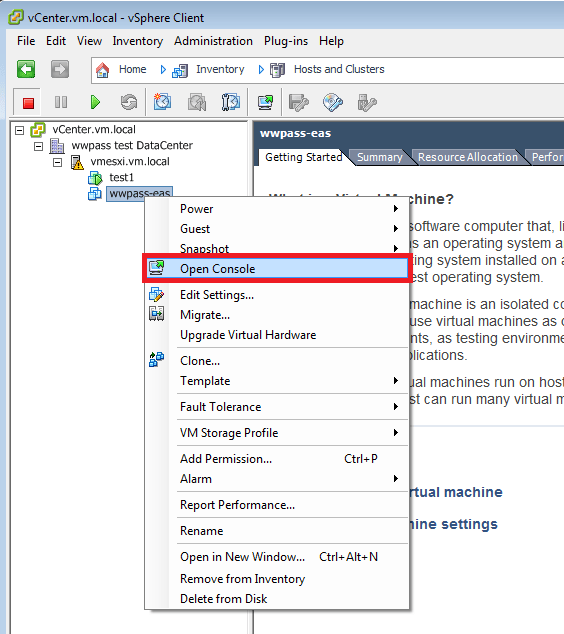
- Right-click on the VM and select Open Console in the menu.
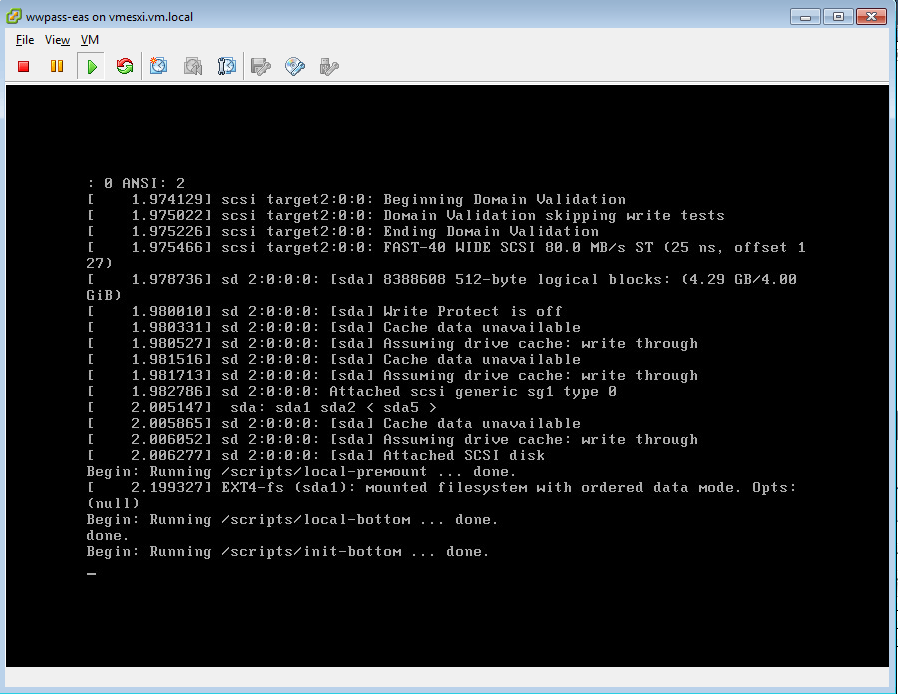
- Click Power On


- Please, wait while booting.
- Enter username admin and password Qwerty1234%

For security reasons it is recommended to change the default password of "admin" user during initial setup. In order to do this perform the following steps:
- log in to the virtual machine using the default password;
- run "passwd" command;
- enter the default password;
- enter a new password;
- re-enter the new password to make sure that there is no typos.
- VM is successfully deployed.

CHAPTER 4 – SERVER CONFIGURATION
To configure a server, use any text editor, for example vi. Please refer to comments in the configuration files for guidance.
To quit vi and save the contents of the buffer to the file that vi is being used to edit press Esc to leave Insert mode and enter command: ZZ or :wq
Network configuration
- Enter command: sudo vi /etc/hostname

- Enter the administrator password: Qwerty1234% or whatever it is changed to.

- Enter the hostname, for example, wwpass-eas. Save and quit vi.

- Enter command: sudo vi /etc/hosts

- Enter the hostname, for example, wwpass-eas. Save and quit vi.

- Enter command: sudo vi /etc/network/interfaces

- Configure network interfaces, specifying the network addresses for your virtual server. Save and quit vi.

AD interface configuratuion
- Enter command: sudo vi /etc/samba/lmhosts

- Specify your domain name in capital letters. Save and quit vi.

- Enter command: sudo net rpc join -U administrator

- Enter domain administrator’s password. Make sure you successfully joined the desired domain.

FreeRADIUS server configuration
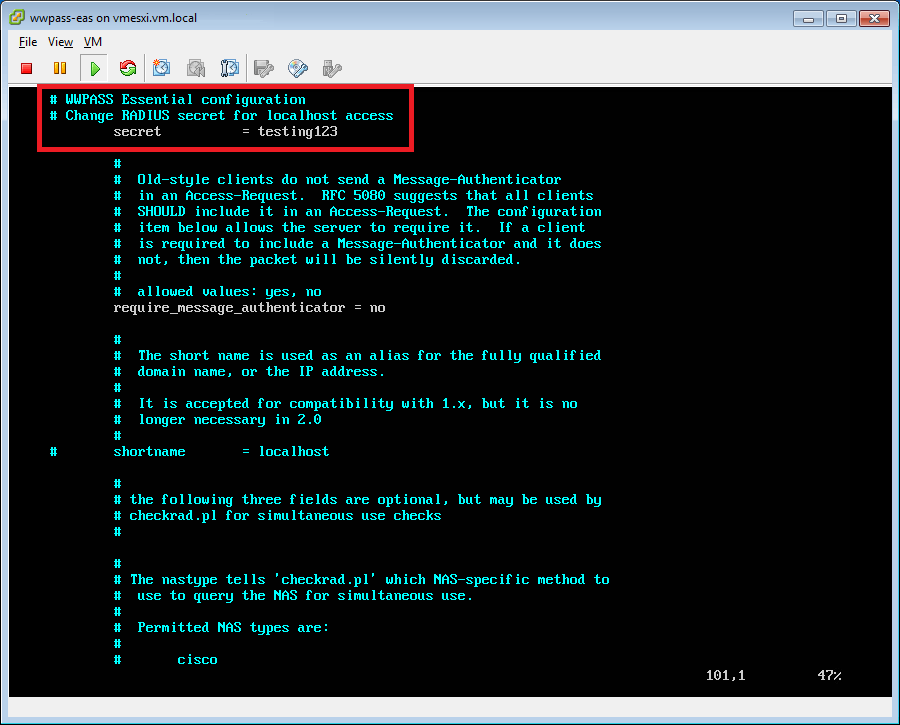
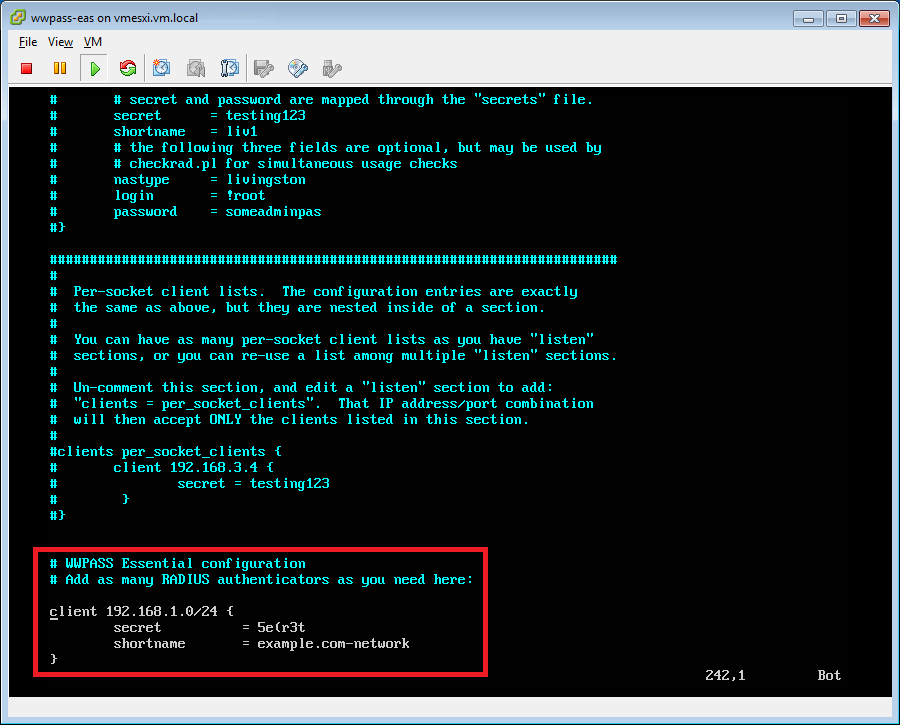
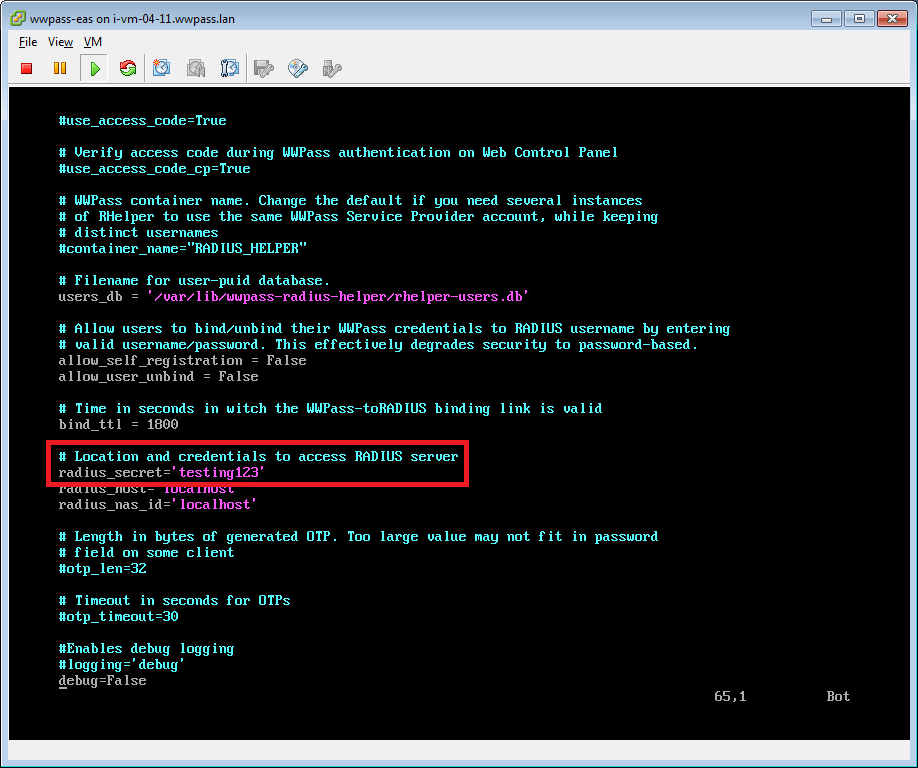
- Enter command: sudo vi /etc/freeradius/clients.conf

-
Change RADIUS secret for localhost access and remember it.
Scroll the configuration file to the bottom. Add as many RADIUS authenticators as you need. Save and quit vi.
- Enter command: sudo shutdown -r now Wait for the reboot.
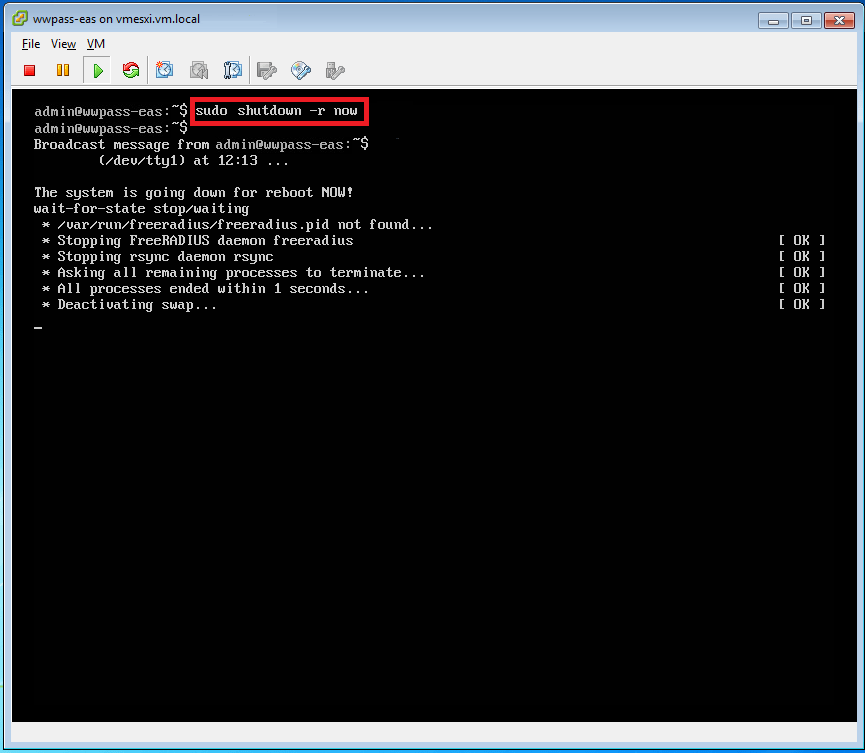
- Enter username admin and the administrator password Qwerty1234% or whatever it is changed to.
-
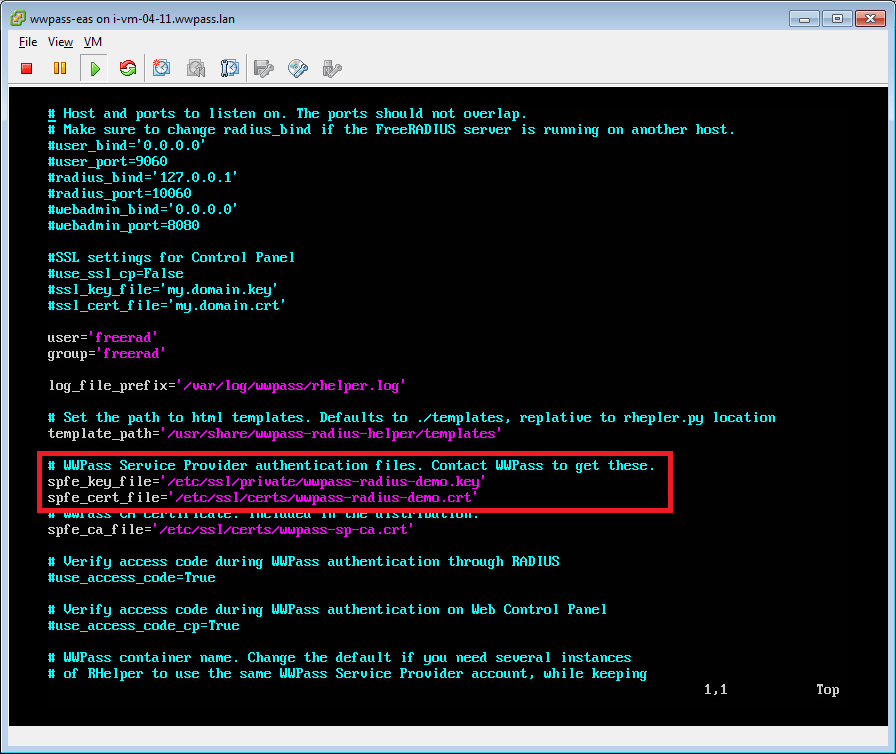
Put your WWPass Service Provider certificate and key files on the radius server virtual machine. Copy private key file your_company.com.key to /etc/ssl/private directory and certificate file your_company.com.crt to /etc/ssl/certs.
-
Enter command: sudo vi /etc/wwpass/rhelper.conf

- Set correct paths and filenames of the key and certificate files.
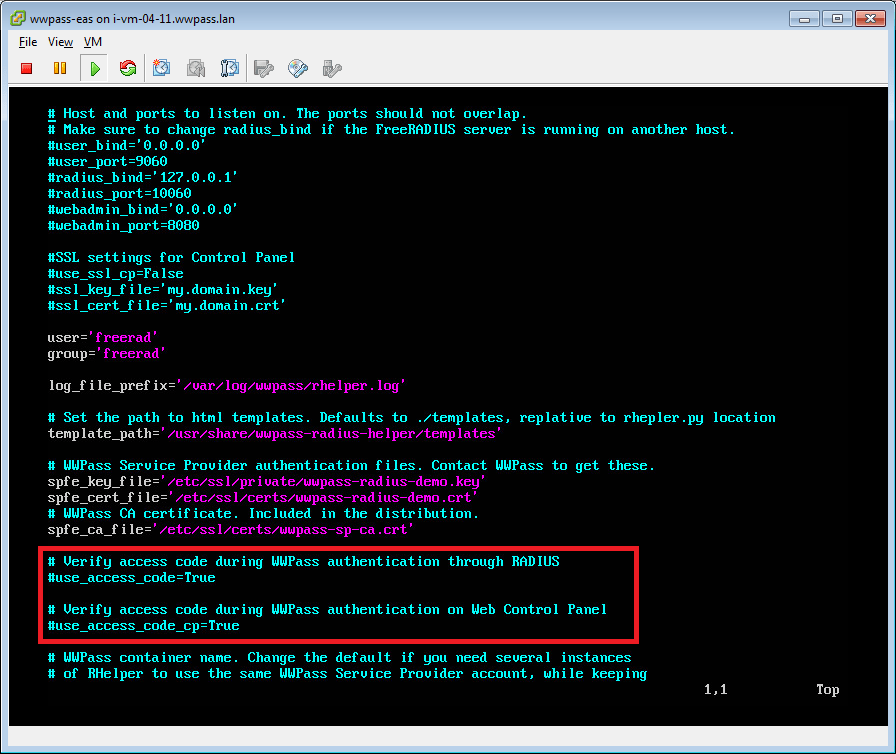
- To turn off access code verification during WWPass authentications through RADIUS or on Web Control Panel, uncomment the corresponding lines and set:\
- use_access_code=False
- use_access_code_cp=False (Turned on by default)
- Scroll the configuration file to the bottom. Specify radius_secret parameter according to your RADIUS server settings set in step 2 of server configuration. Save and quit vi.
- Enter command: sudo restart wwpass-radius-helper
Every time the rhelper.conf is changed you should restart the service with this command.

- Enter command: sudo shutdown -r now Wait unitl the server is rebooted.

- Check winbind demo functionality with the command: sudo wbinfo -p Message will appear that ping to winbindd succeeded.

- Check winbind demo trust functionality with the command: sudo wbinfo -t Message will appear that checking the trust secret for domain via RPC calls succeeded.

Update of wwpass-radius-helper package
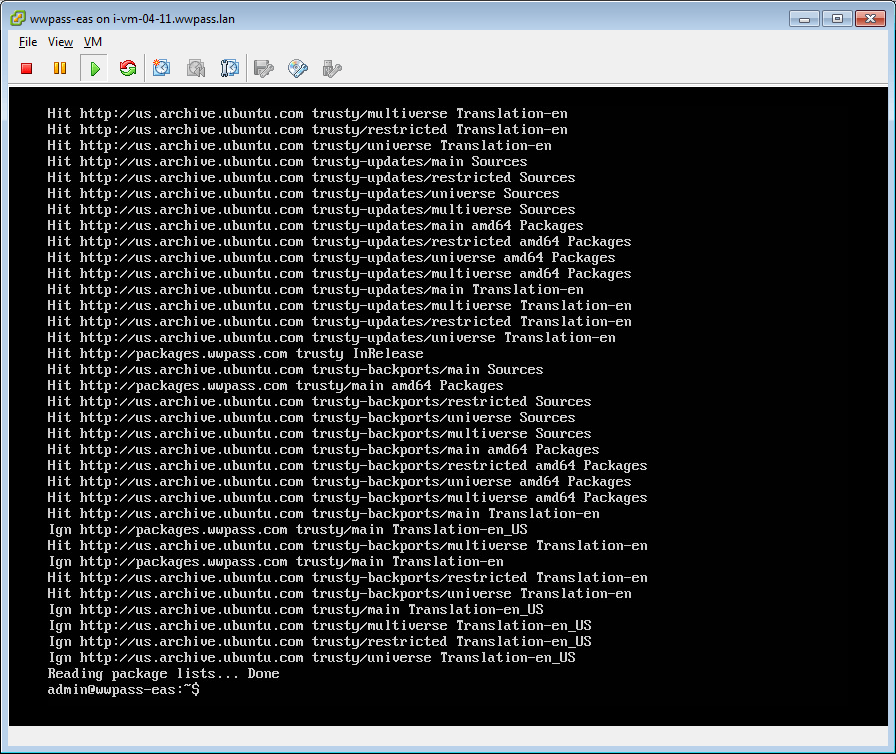
- Enter command: sudo apt-get update

- Please, wait for results.
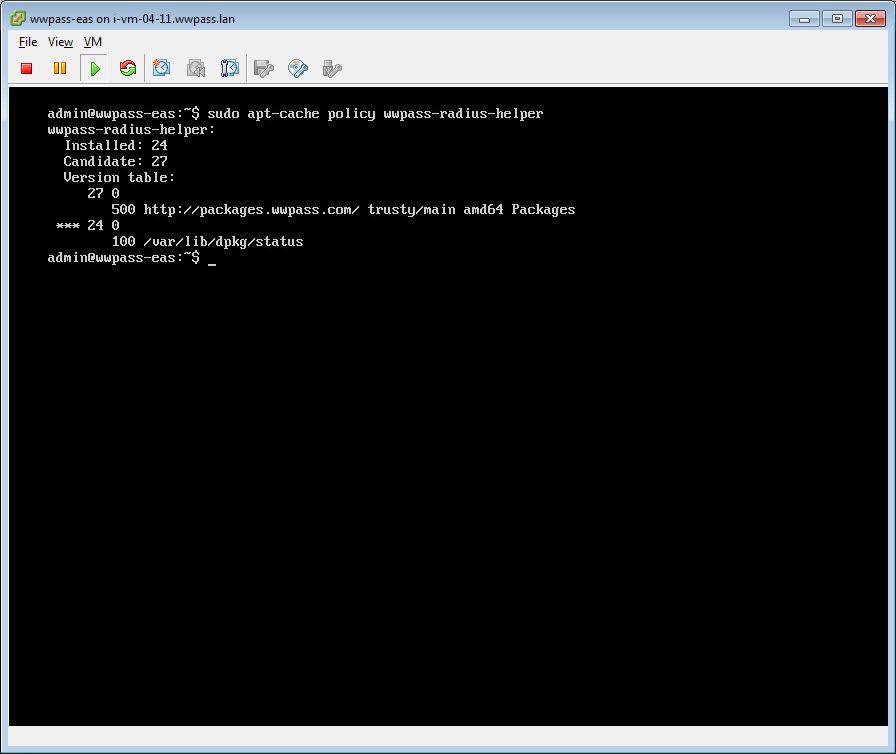
- Enter command: sudo apt-cache policy wwpass-radius-helper

- Current version and possible candidate for update will be shown.
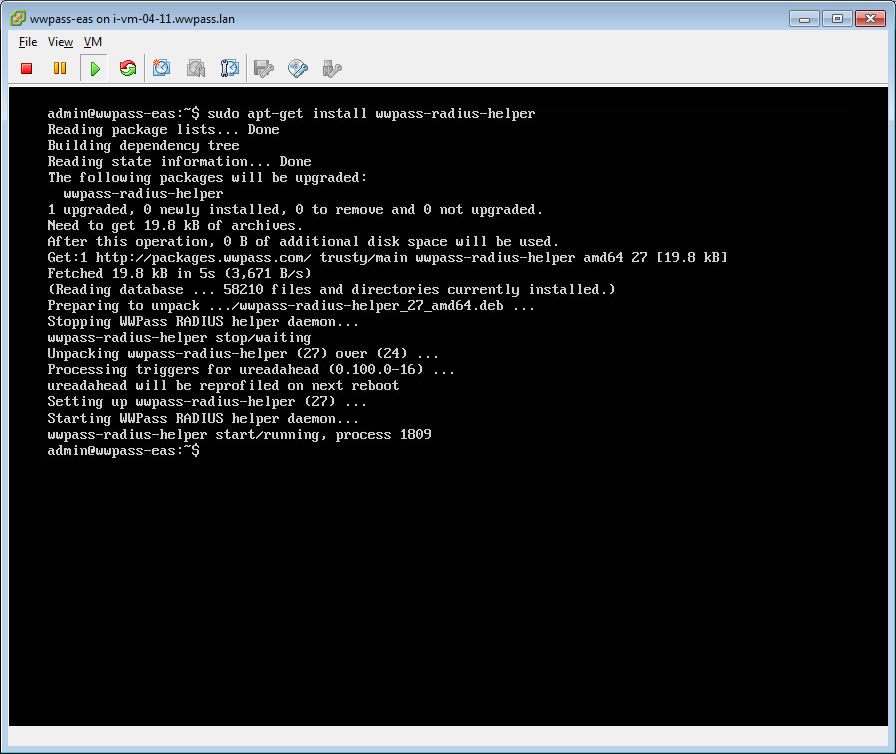
- To update the package, enter command: sudo apt-get install wwradius-helper

- Please, wait for results. Package is successfully updated.
CHAPTER 5 – RADIUS SERVER: ADDING ADMINISTRATOR AND USER ACCOUNTS
To complete RADIUS server initial setup assign RADIUS administrators and users rights to Active Directory members and bind a WWPass Key to each of them.
All users should be already registered in Active Directory and Radius and have activated WWPass Keys.
WWPass Security Pack should be installed on administrators and users’ computers (see requirements section above).
To register the first administrator
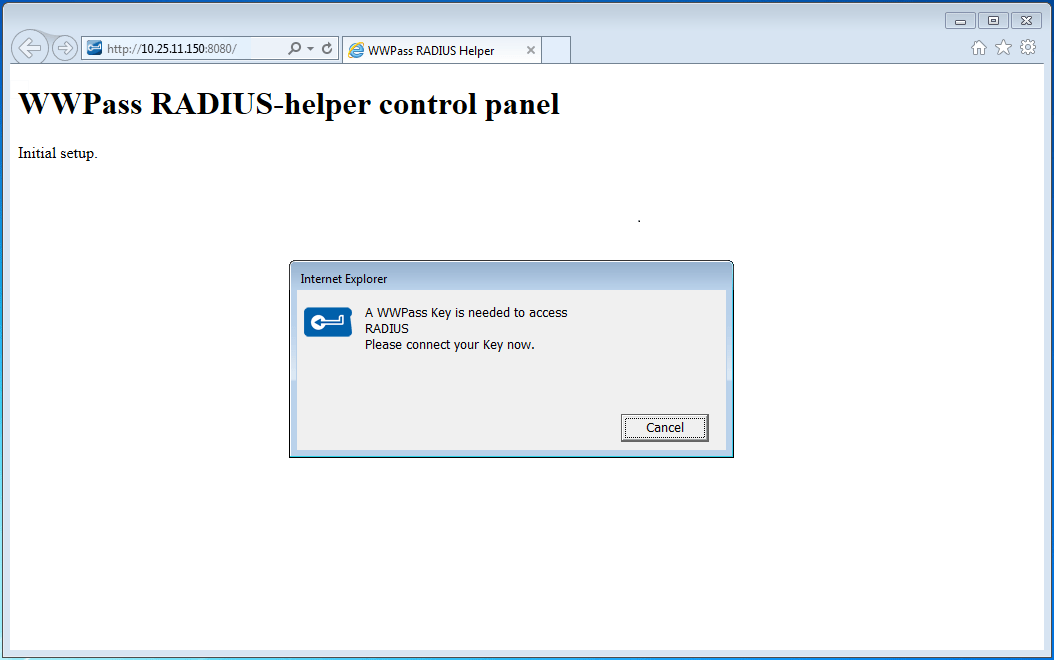
- Open Internet Explorer. Enter RADIUS server IP address, followed by port number 8080.

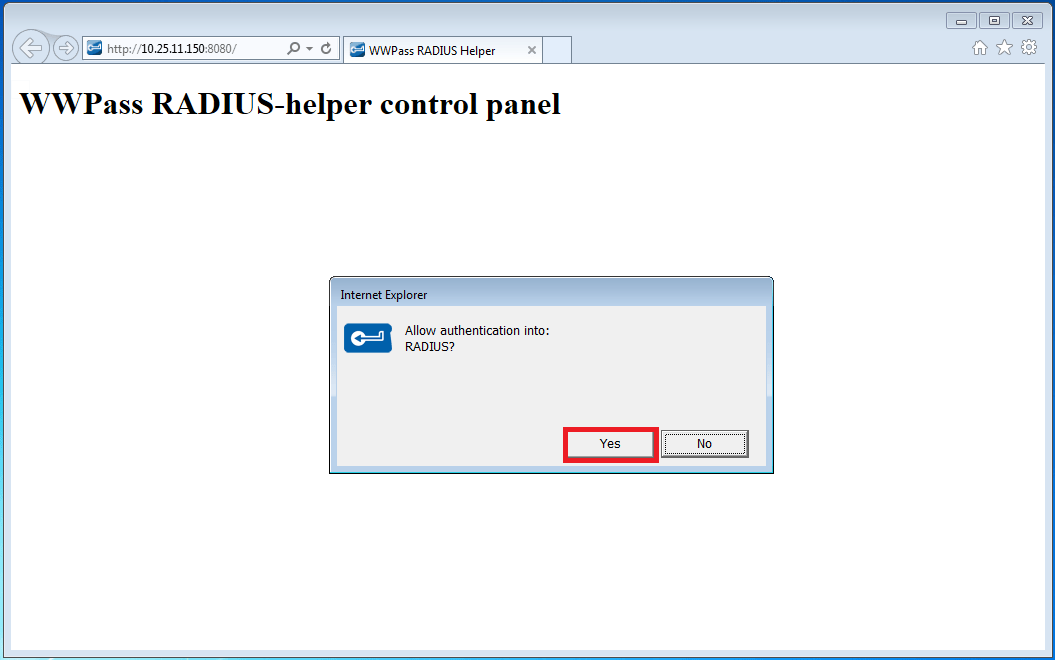
- Present a WWPass Key to bind with the first server administrator account.
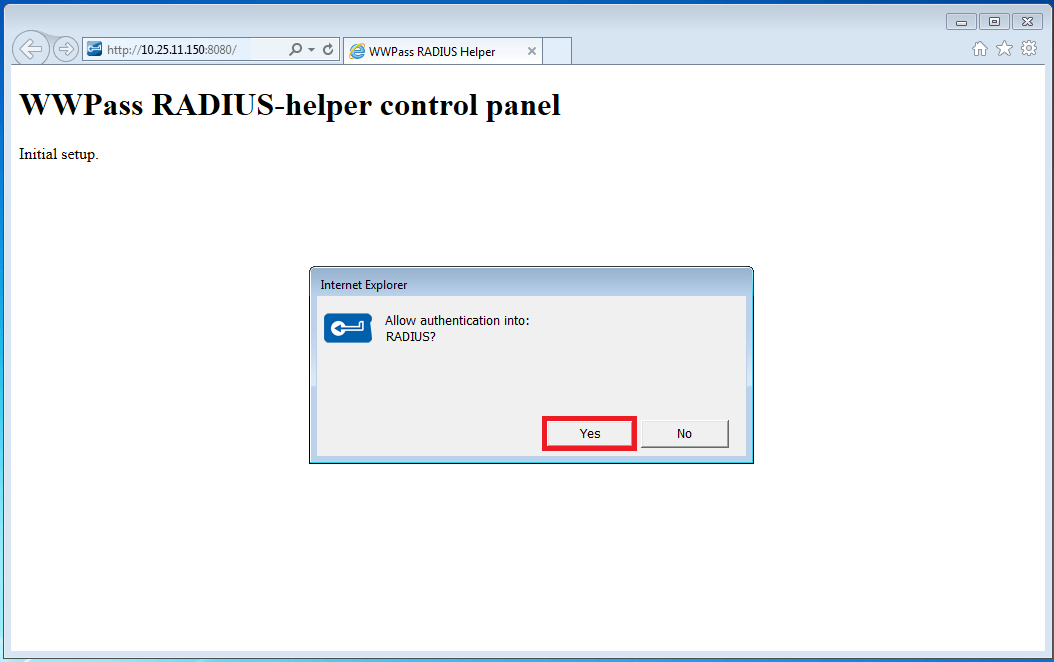
- Click
 to confirm authentication.
- Enter WWPass access code and click


- Enter the RADIUS username and password of the first administrator.
Click

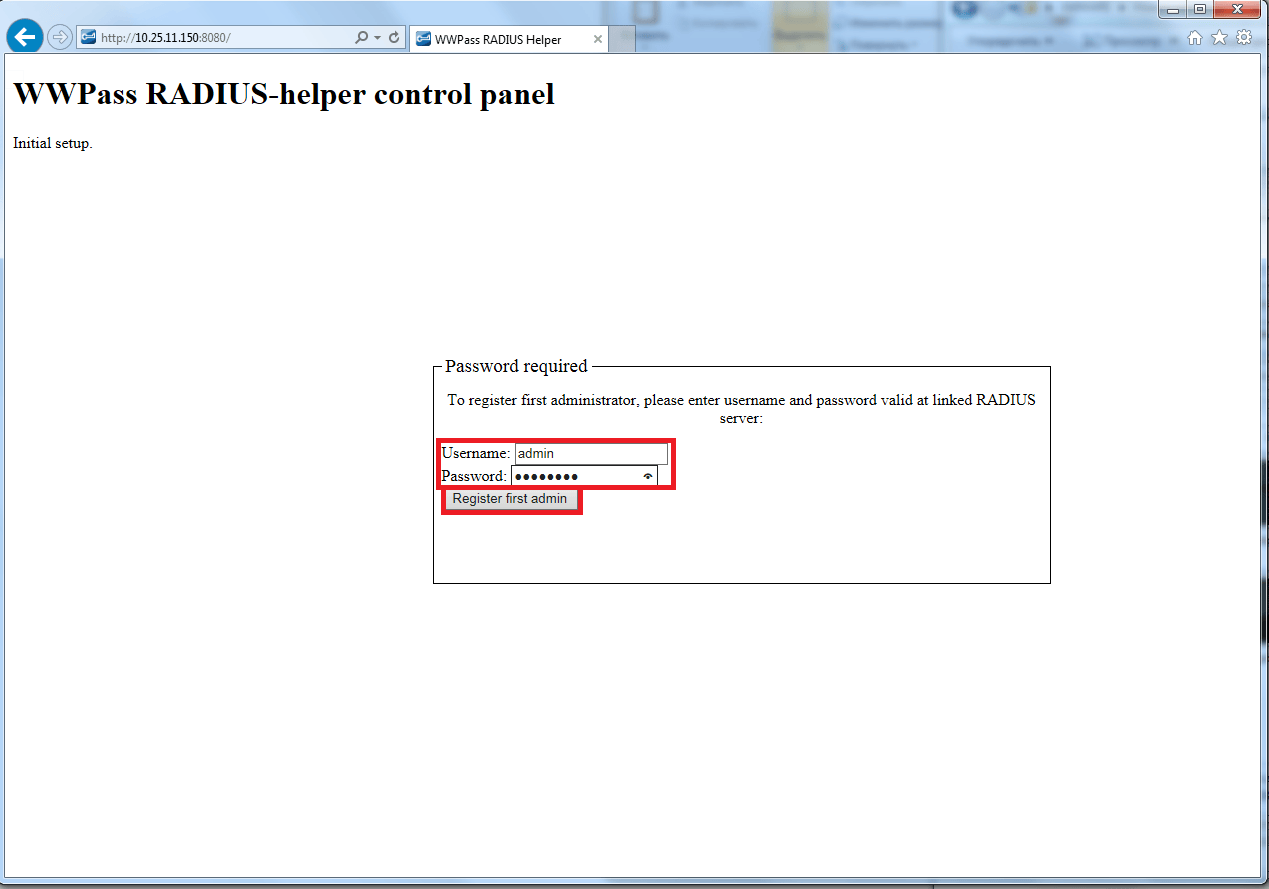
- The first administrator account was registered and bound with a WWPass Key.
Click
 and register users.

To register users
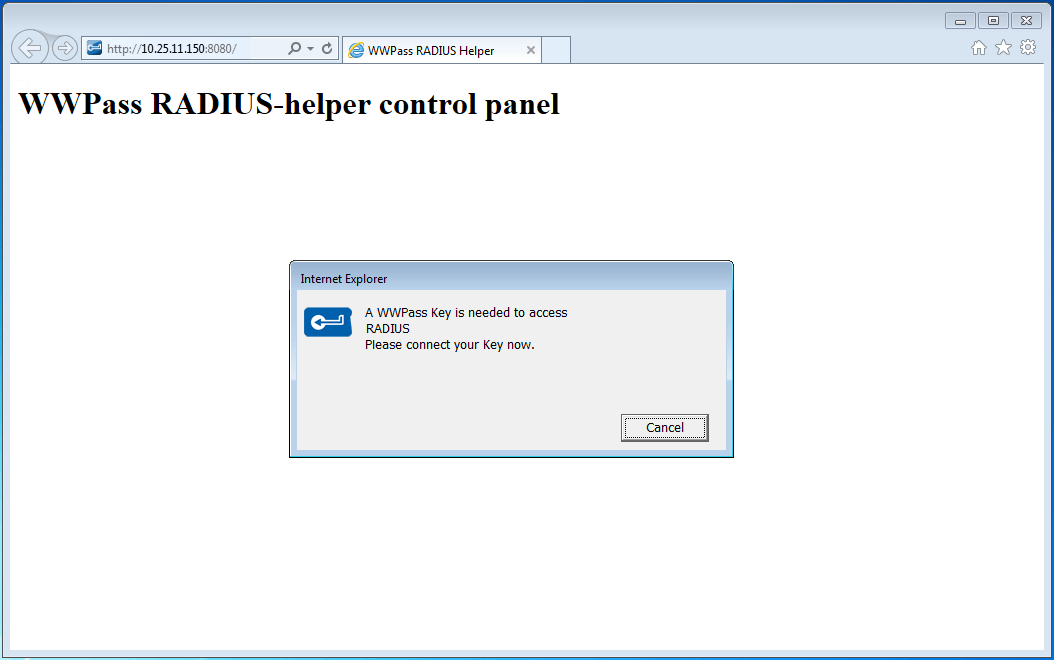
- Open Internet Explorer. Enter RADIUS server IP address, followed by port number 8080.
- Present the administrator’s WWPass Key to authenticate.

- Click to confirm authentication.

- Enter WWPass access code and click
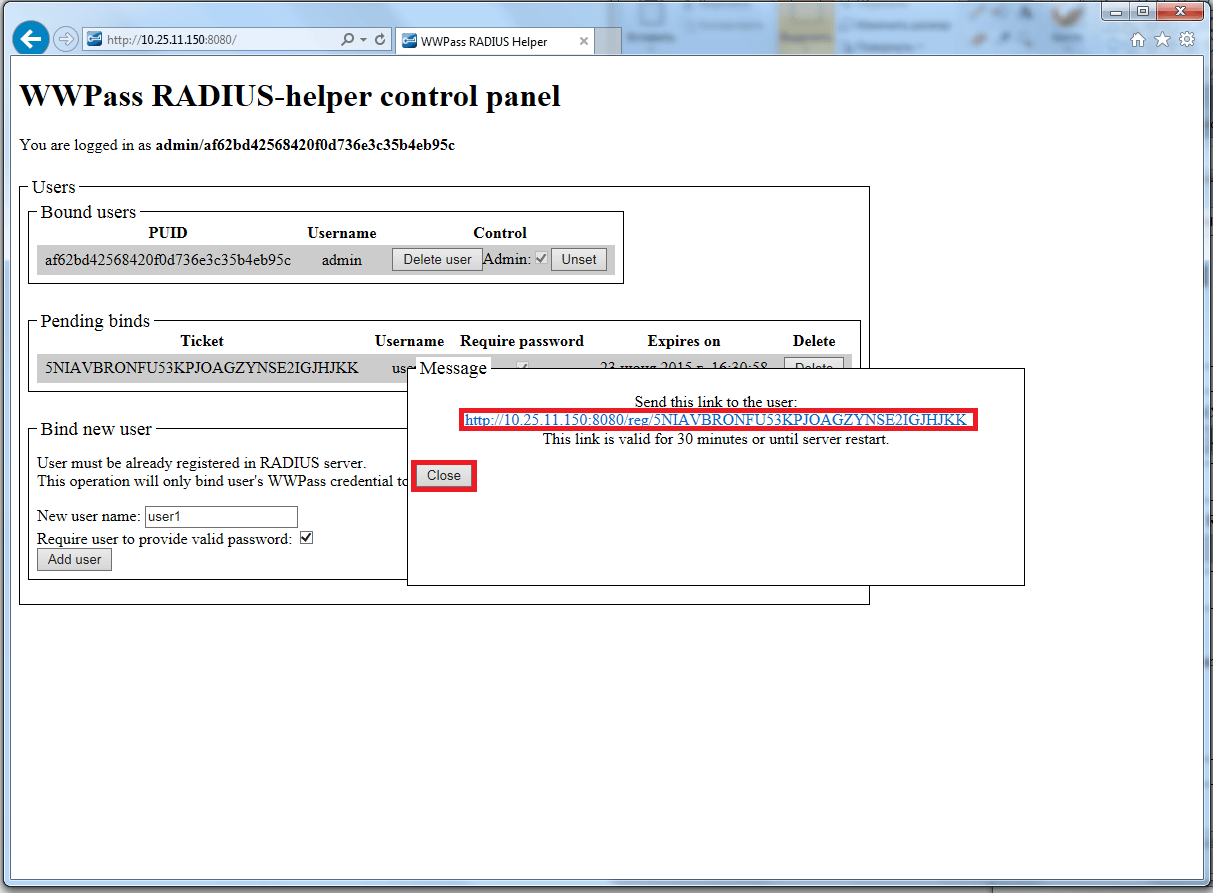
- Enter new user’s username to register. Click

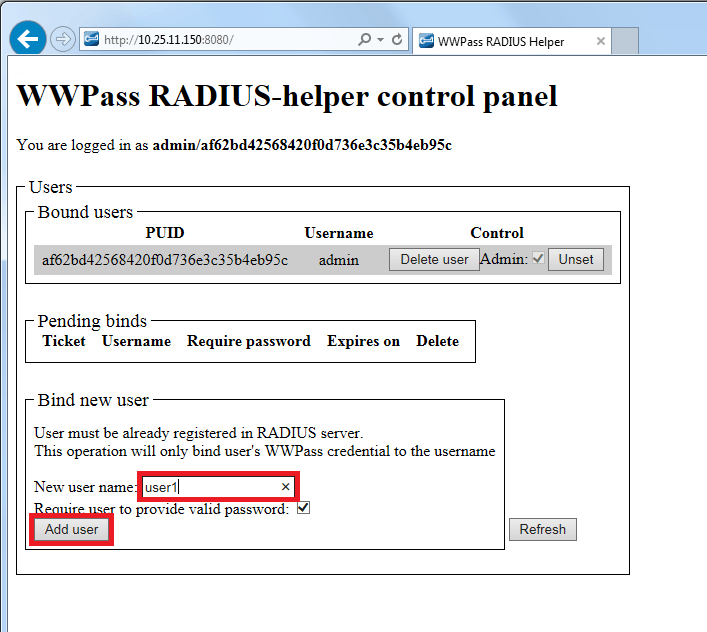
- Copy the link and send it to the user. The link is valid for 30 minutes or until server is restarted.
Click
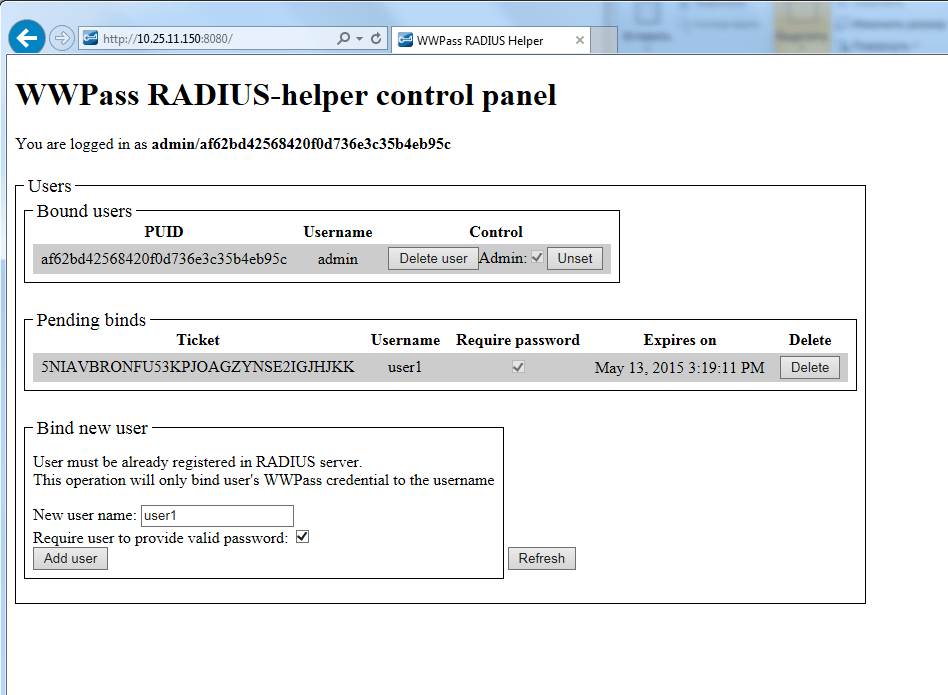
- You can add more users and see the list of all registered users and pending binds which should be completed on end-users side.
To complete registration on end-users side
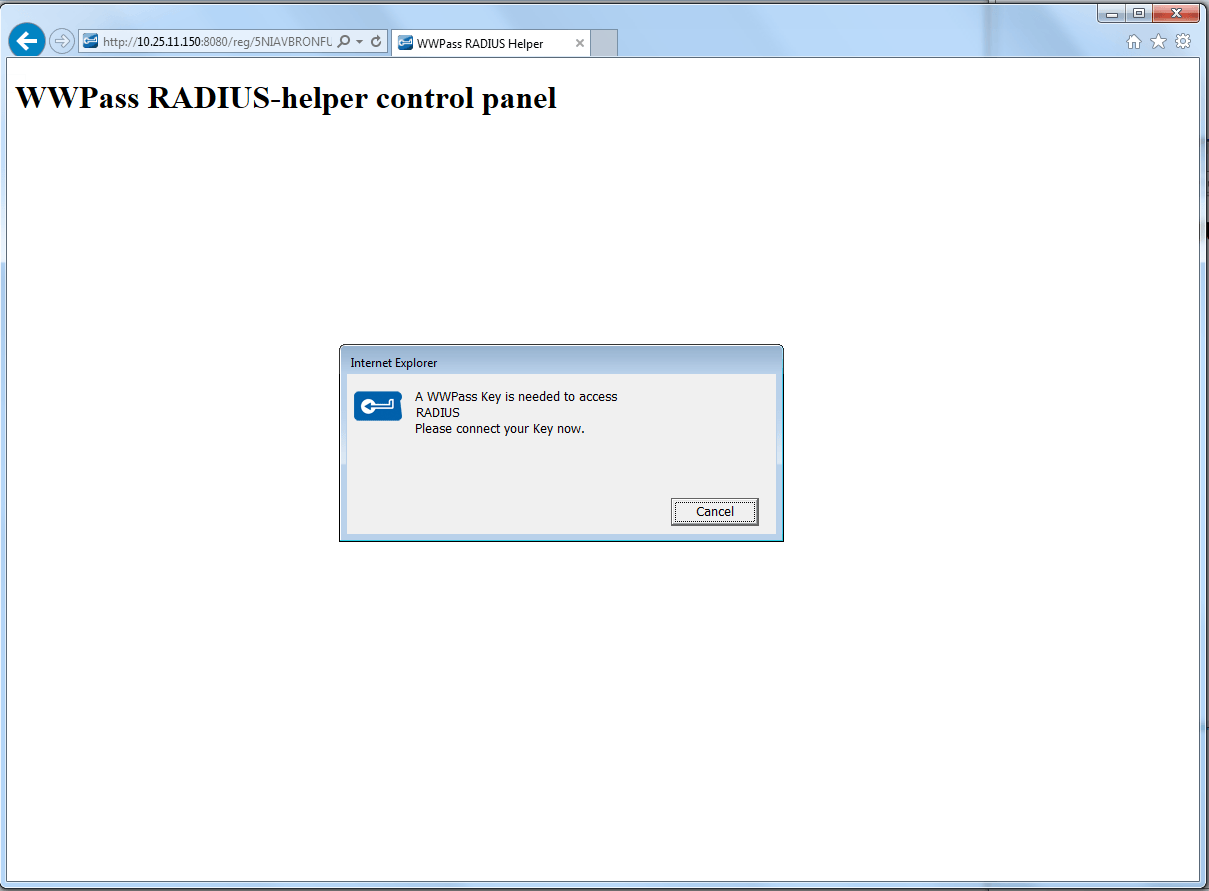
- Open the received URL in Internet Explorer.

- Present a WWPass Key to bind with the user’s account.
- Click to confirm authentication.
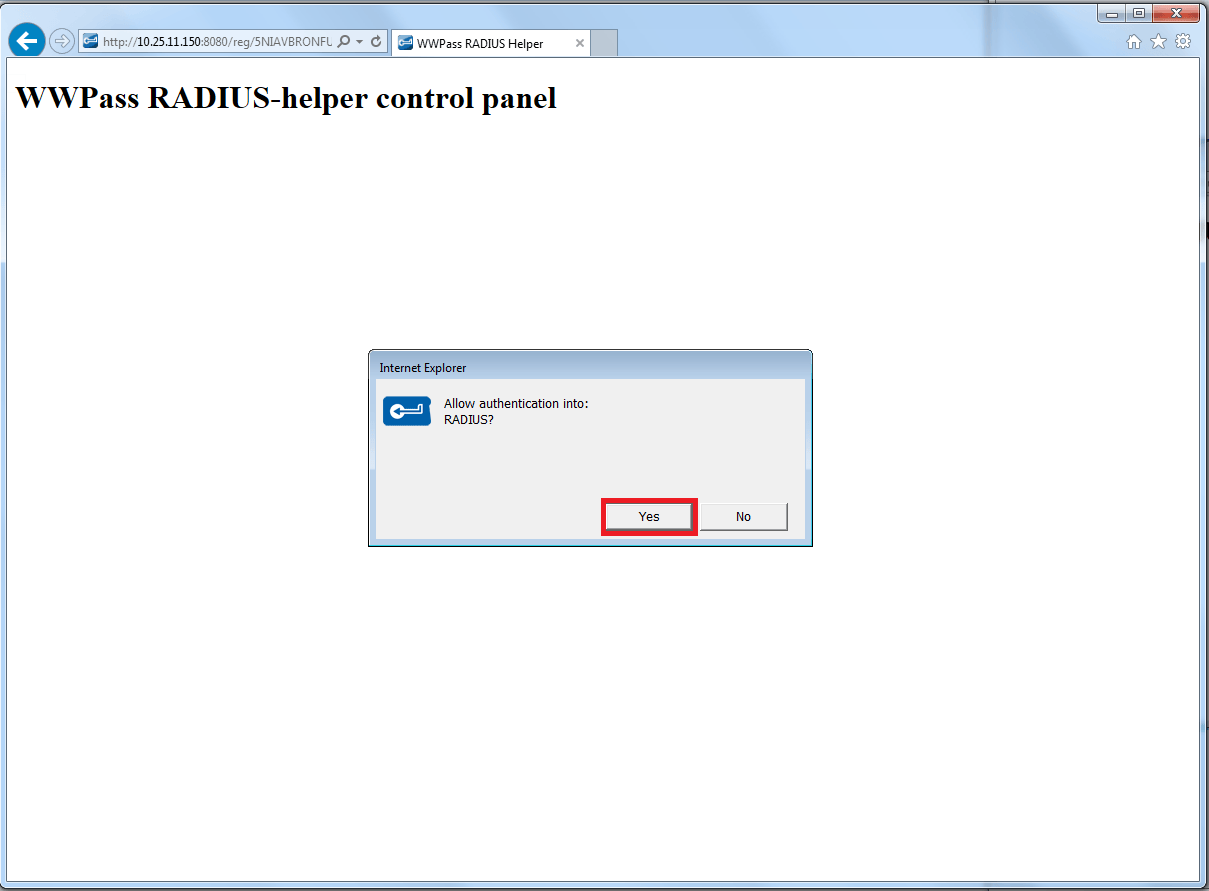
- Enter WWPass access code and click
- Enter the user’s Active Directory password and click
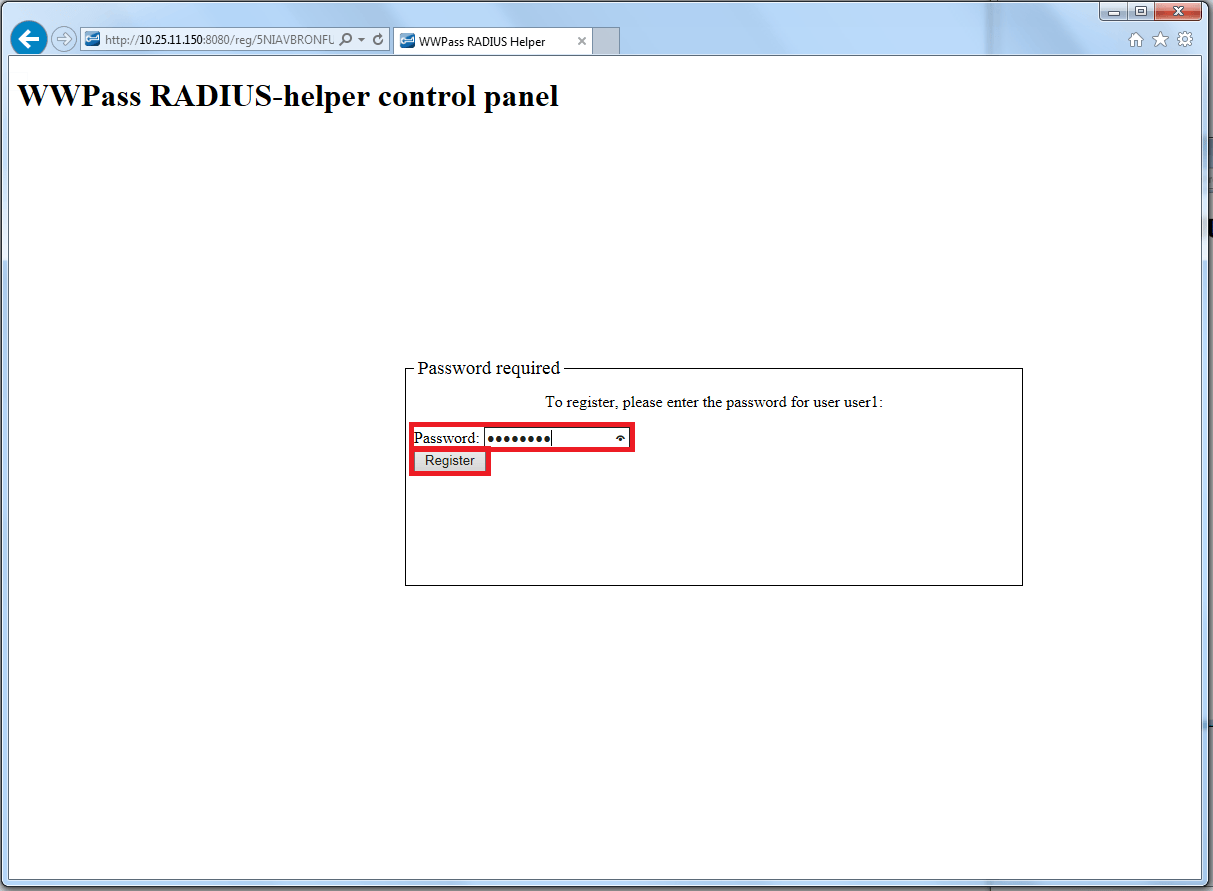
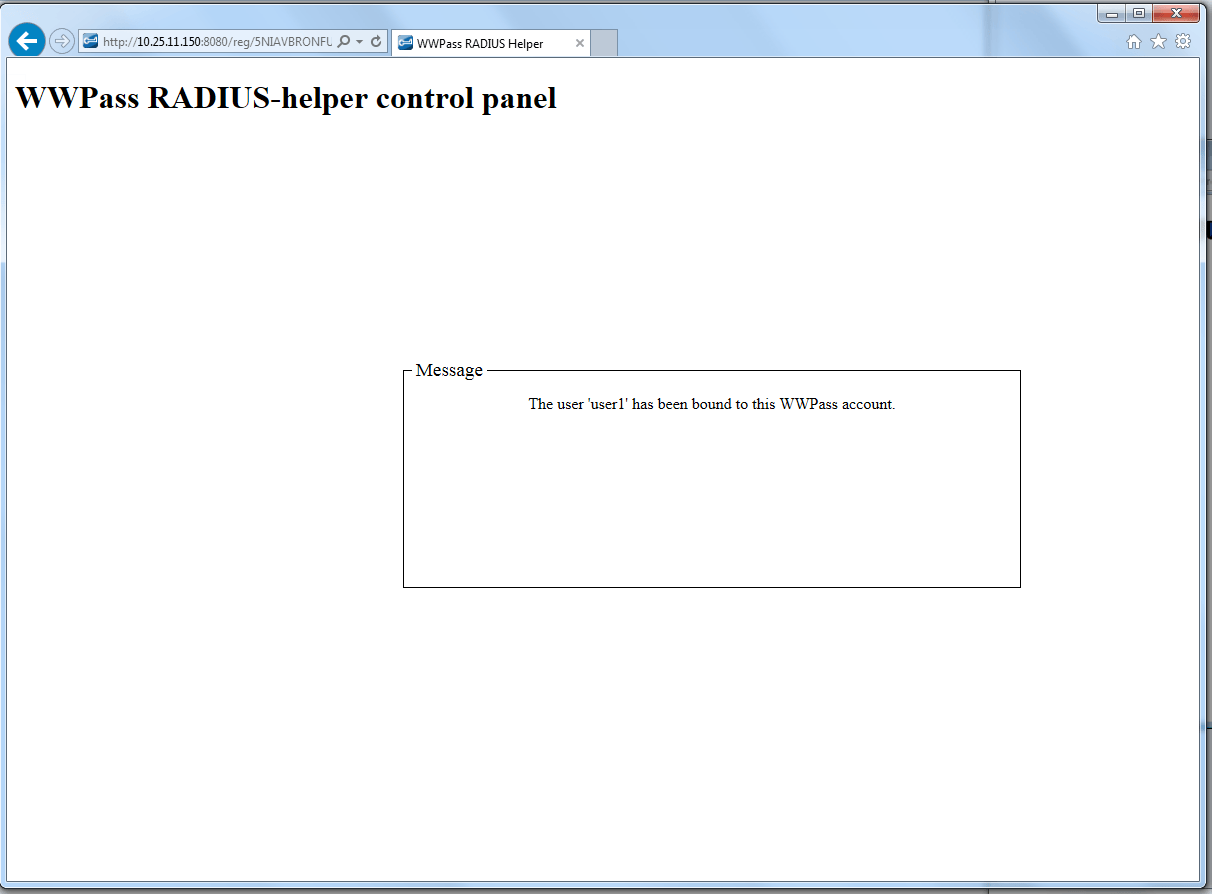
- User’s account is successfully registered and bound to the WWPass Key.
To assign or remove administrator rights of a registered user
- Open Internet Explorer. Enter RADIUS server IP address, followed by port number 8080.
- Present the administrator’s WWPass Key to authenticate.
- Click to confirm authentication.

- Enter WWPass access code and click
- Сlick
 to assign administrator rights to the already registered user.

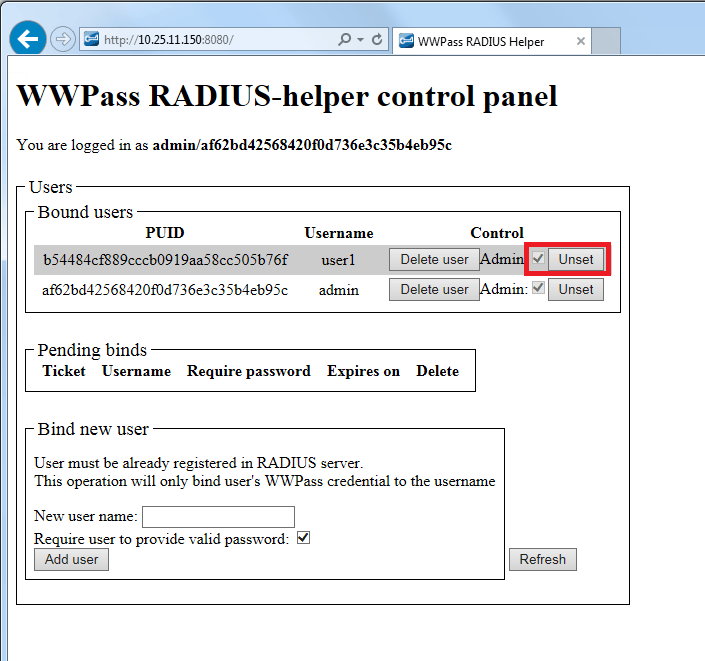
- Сlick
 to remove administrator rights from the already registered user.
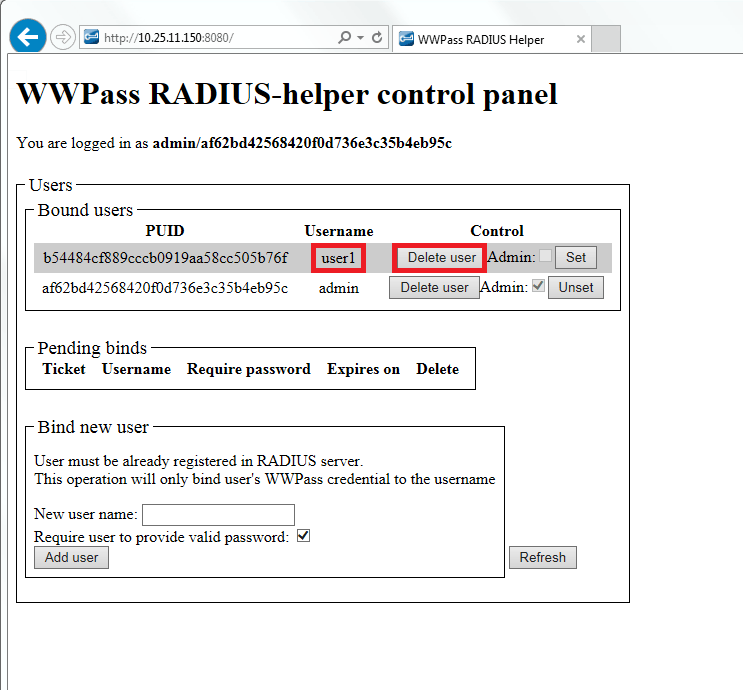
To delete user
- Open Internet Explorer. Enter RADIUS server IP address, followed by port number 8080.
- Present the administrator’s WWPass Key to authenticate.

- Click to confirm authentication.
- Enter WWPass access code and click
- Select the user you want to delete and click

CHAPTER 6 – VMWARE CONFIGURATION: SETTING UP RADIUS AUTHENTICATION
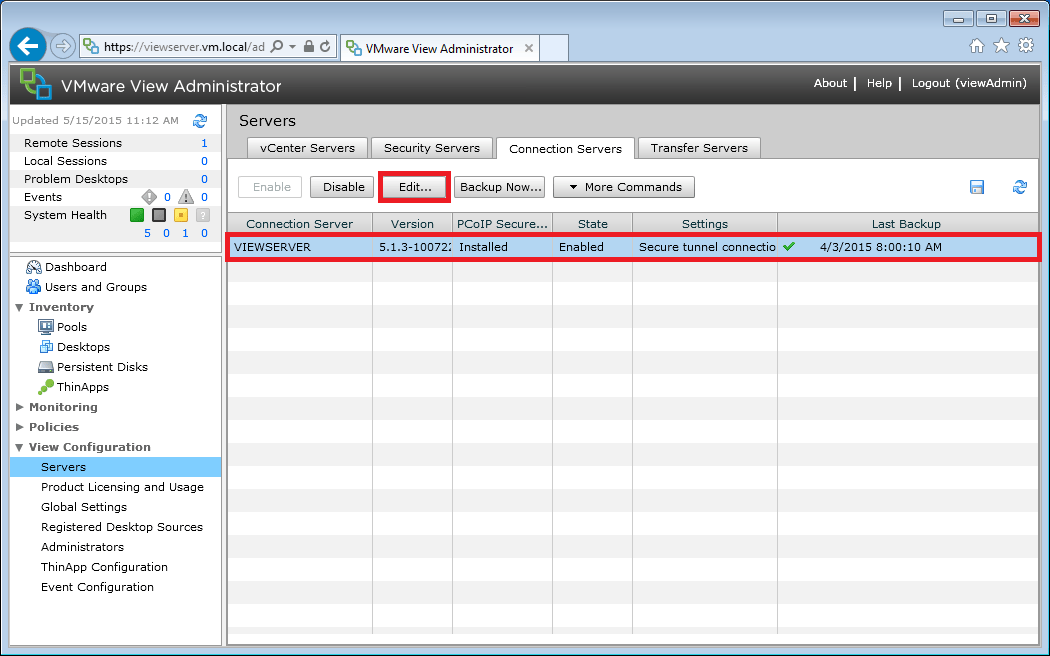
To customize RADIUS authentication, open VMware View Administrator in your web browser (Internet Explorer is recommended).
- Expand View Configuration section in the left menu.
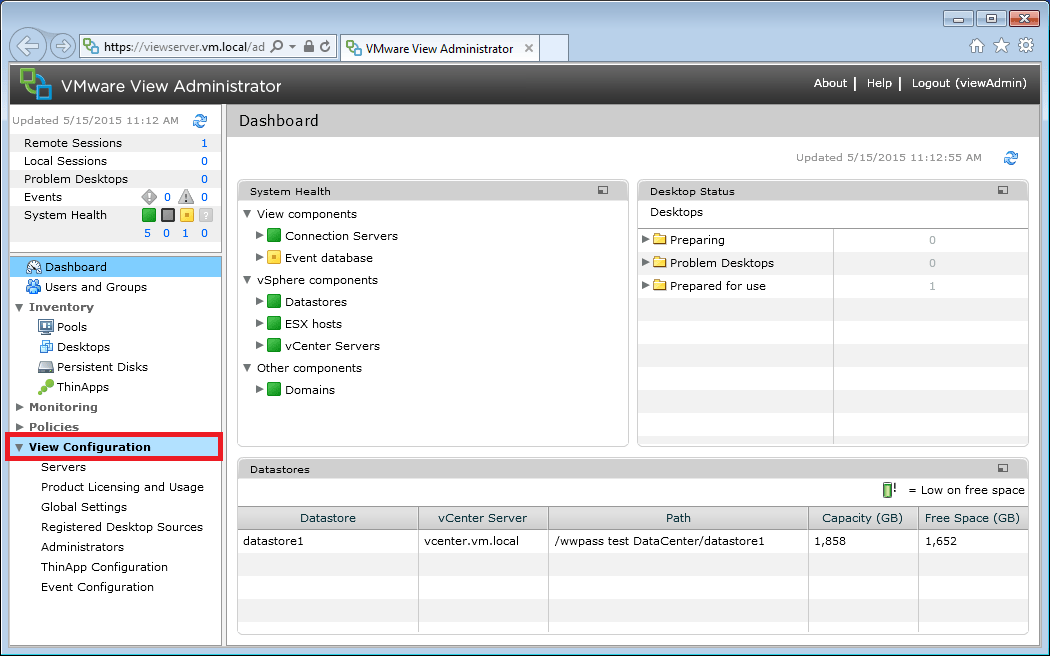
- Select Servers in the left menu and open Connection Servers tab in the right pane.
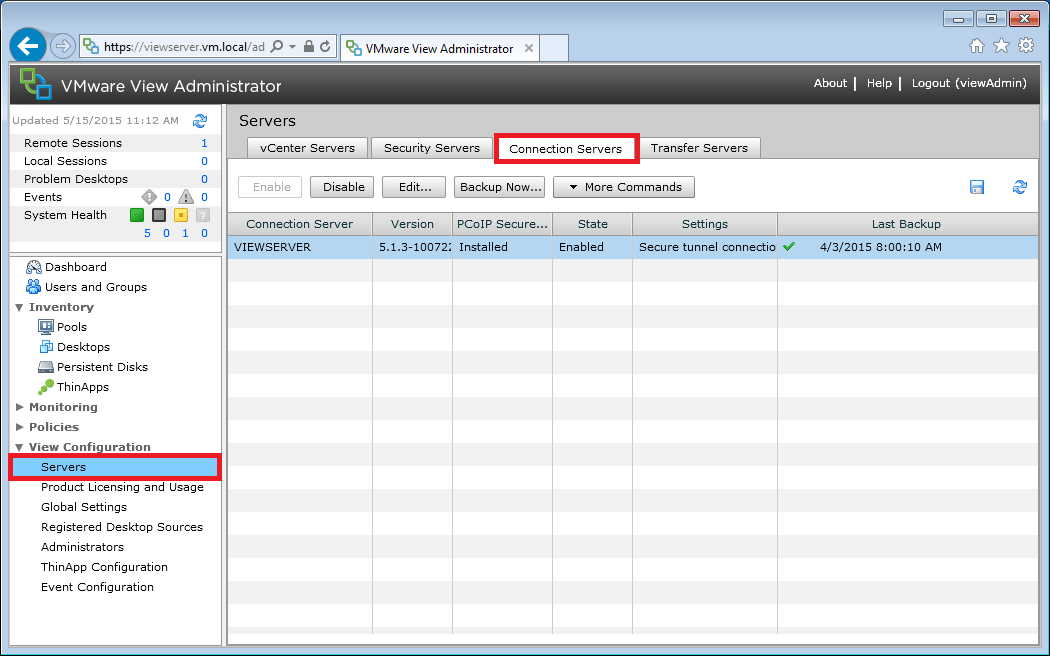
- Select the server to customize and click

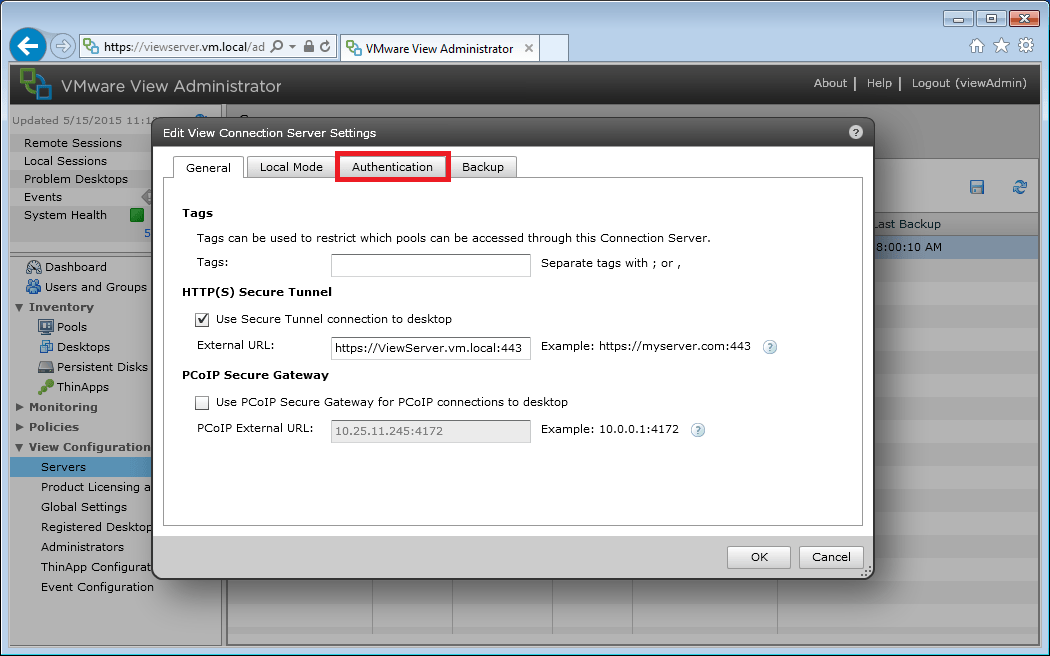
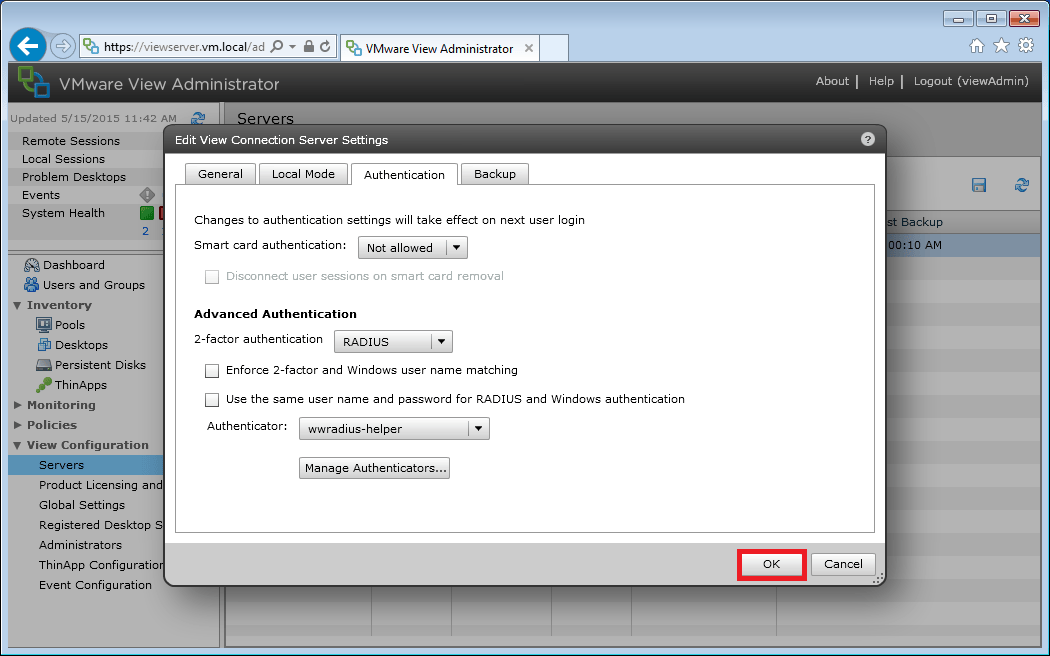
- Open Authentication tab.
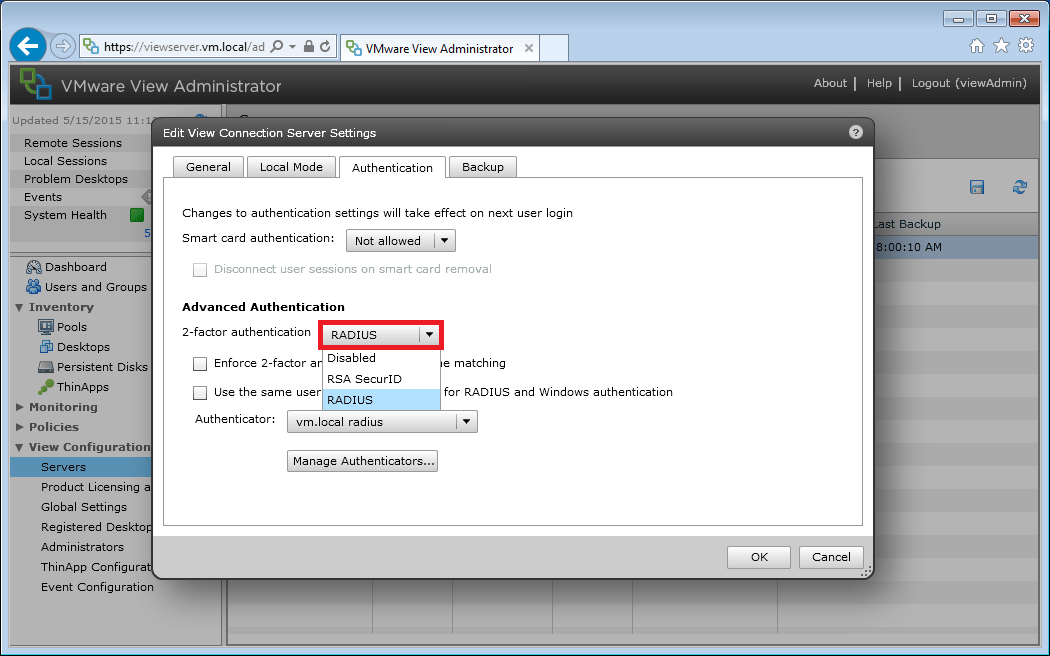
- Under Advance Authentication, select RADIUS from the 2-factor authentication option.
- For the Authenticator option, select Create New Authenticator.
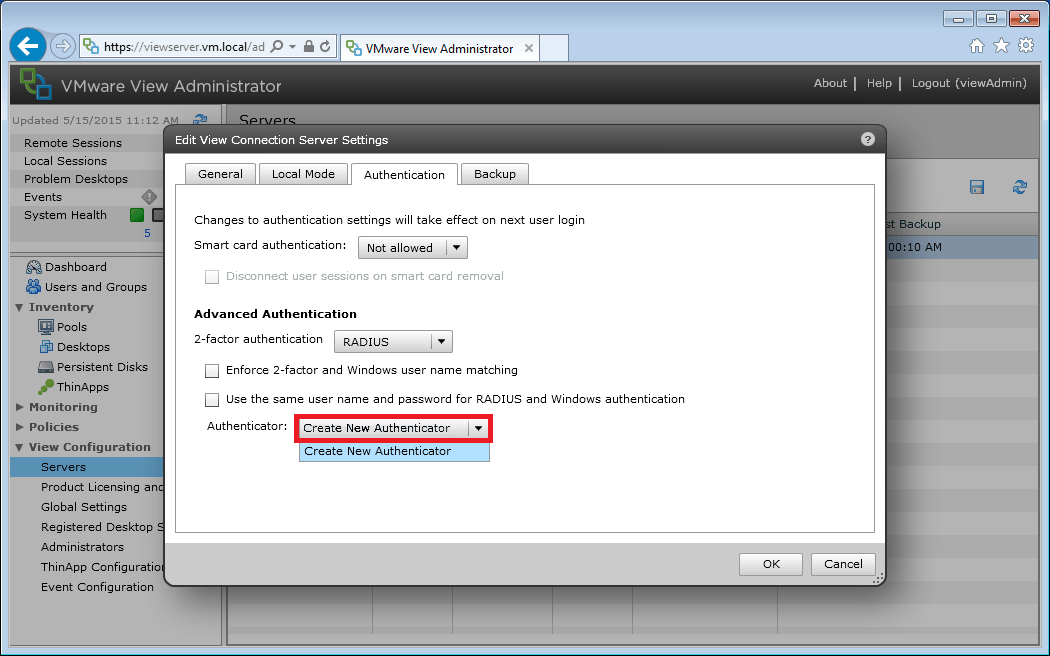
- Specify the following parameters:
- Label that will be shown to clients;
- Hostname/Address of the WWPass EAS server;
- PAP as authentication type;
- Shared RADIUS secret for localhost access set during RADIUS server configuration.
Click

- Click
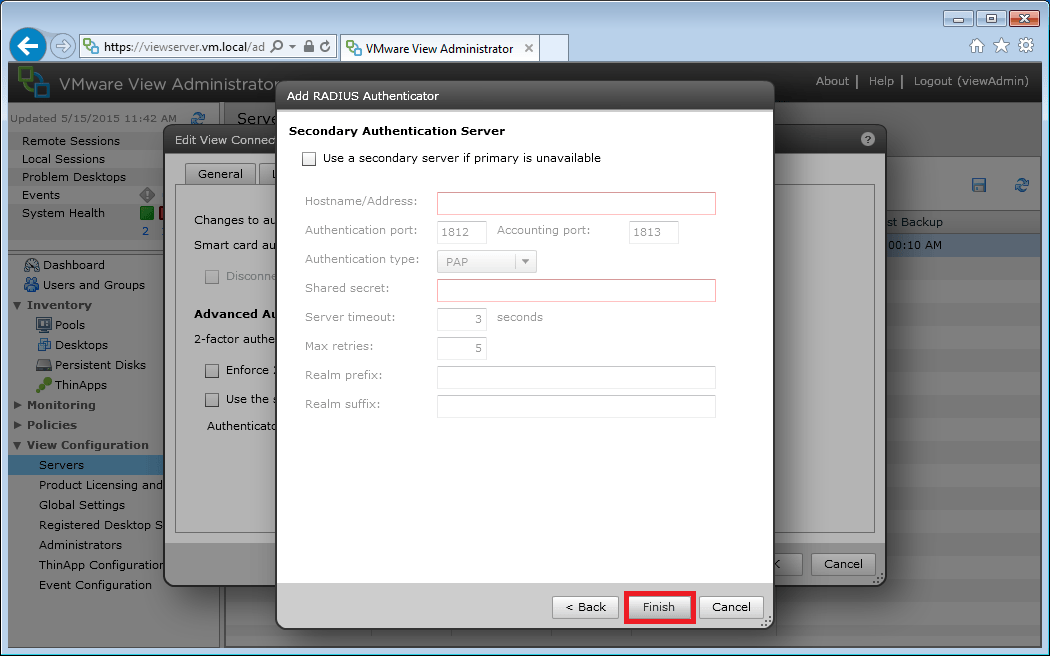
- Click
CHAPTER 7 – RCLIENT USER MANUAL
We are no longer supporting WWPass RClient (RADIUS Client).
If you are interested in WWPass authentication for software that does not support WWPass out of the box, such as VMware Horizon View Client, Fortinet FortiGate and OpenVPN, please contact us.
WWPass RClient (RADIUS Client) is a desktop application which provides WWPass authentication for software that does not support WWPass out of the box. RClient authenticates the user and starts one of the supported third-party applications, effectively replacing its username and password based authentication. RClient supports VMware Horizon View Client, Fortinet FortiGate and OpenVPN, and contains built-in configuration profiles for these applications.
Add connection
To add a connection to RClient:
- Click


- Enter connection name.

- Select the VMware Horizon View Client as an application to connect to.

- Enter WWPass EAS Hostname and VMware Connection Server Hostname with proper ports.

- Click


- The created connection will be shown in the list of connections.

Edit connection settings
To edit connection settings:
- Select the connection in the list by clicking on it.

- Click
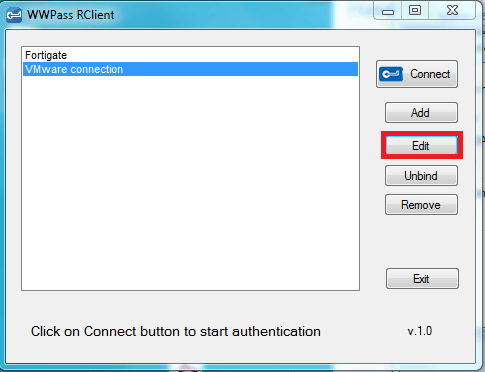
- Change all parameters required.

- Click

Establish connection
To establish connection:
- Select the connection from the list by clicking on it.

- Click to


- To approve authentication click

- Enter WWPass access code and click
- VPN connection is successfully established.

Unbind account
To unbind your WWPass account from RADIUS account:
- Select the connection from the list by clicking on it.
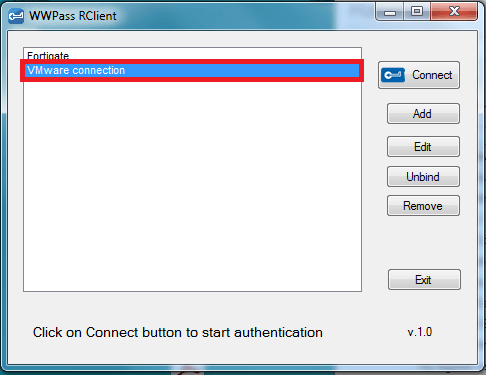
- Click to


- To confirm binding removal click

- To approve authentication click
- Enter WWPass access code and click
- Your WWPass account is successfully unbound from RADIUS account.

Remove connection
To remove connection from the list:
- Select the connection from the list by clicking on it.

- Click


- To confirm connection removal click

- The connection is successfully removed from the list.

Exit from RClient
To exit from the RClient you can use either of the following ways:
-
Click

-
Click the X button at the top of RClient
