WWPass Identity Provider Integration With Keycloak
This document describes how to integrate WWPass identity provider to Keycloak.
Prerequisites
The WWPass Service Provider certificate and private key are required. Obtain them at https://manage.wwpass.com/.
Initial Setup
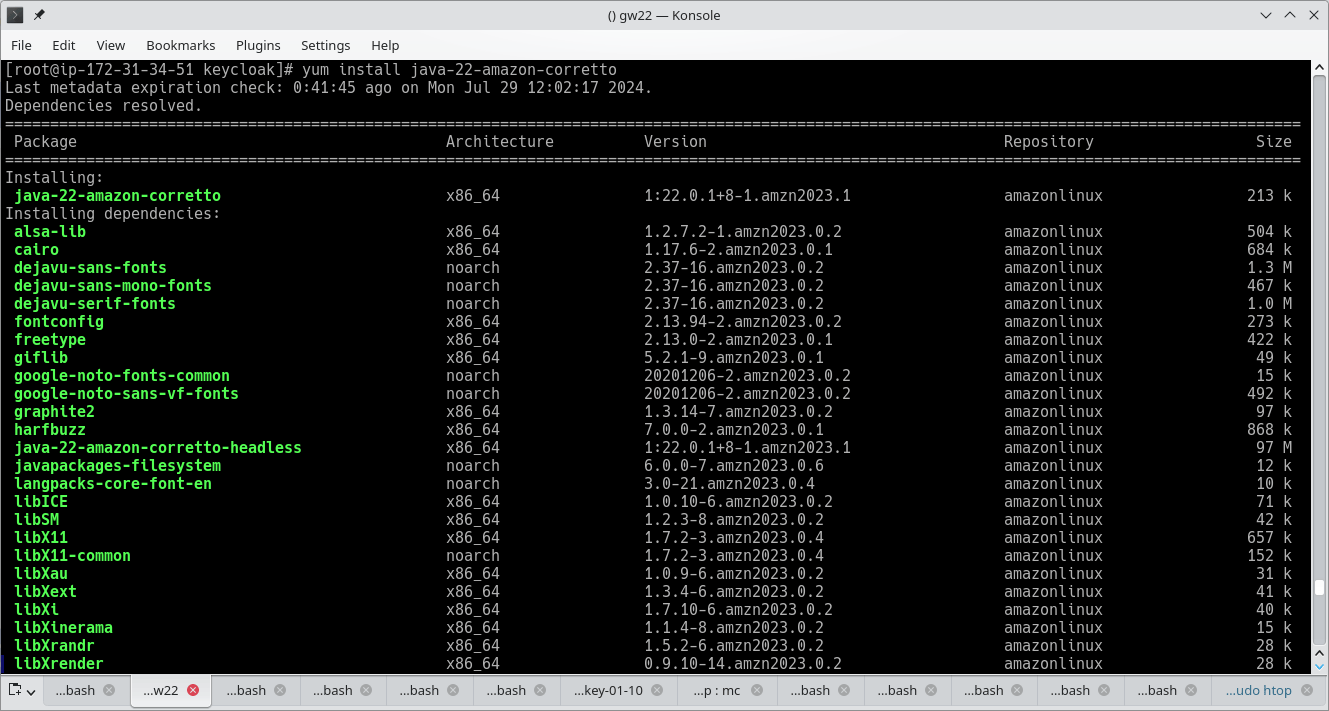
- Install Java
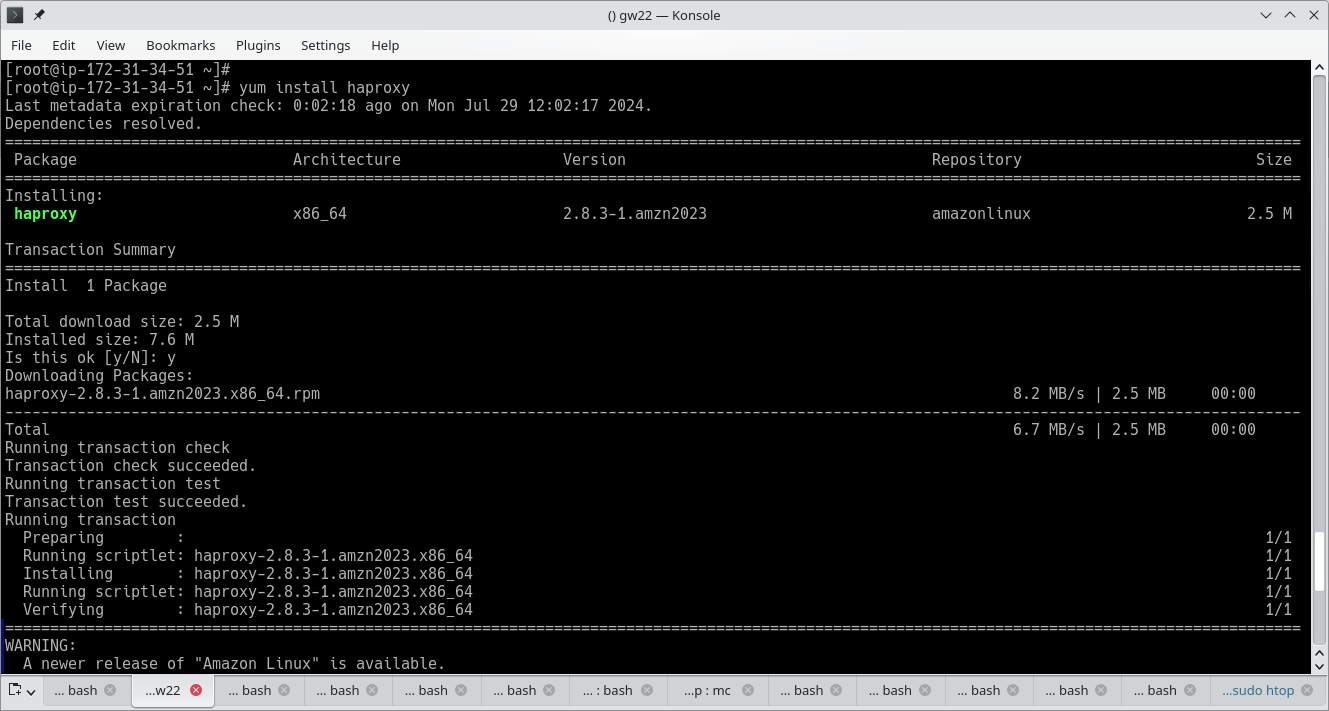
- Install HAProxy
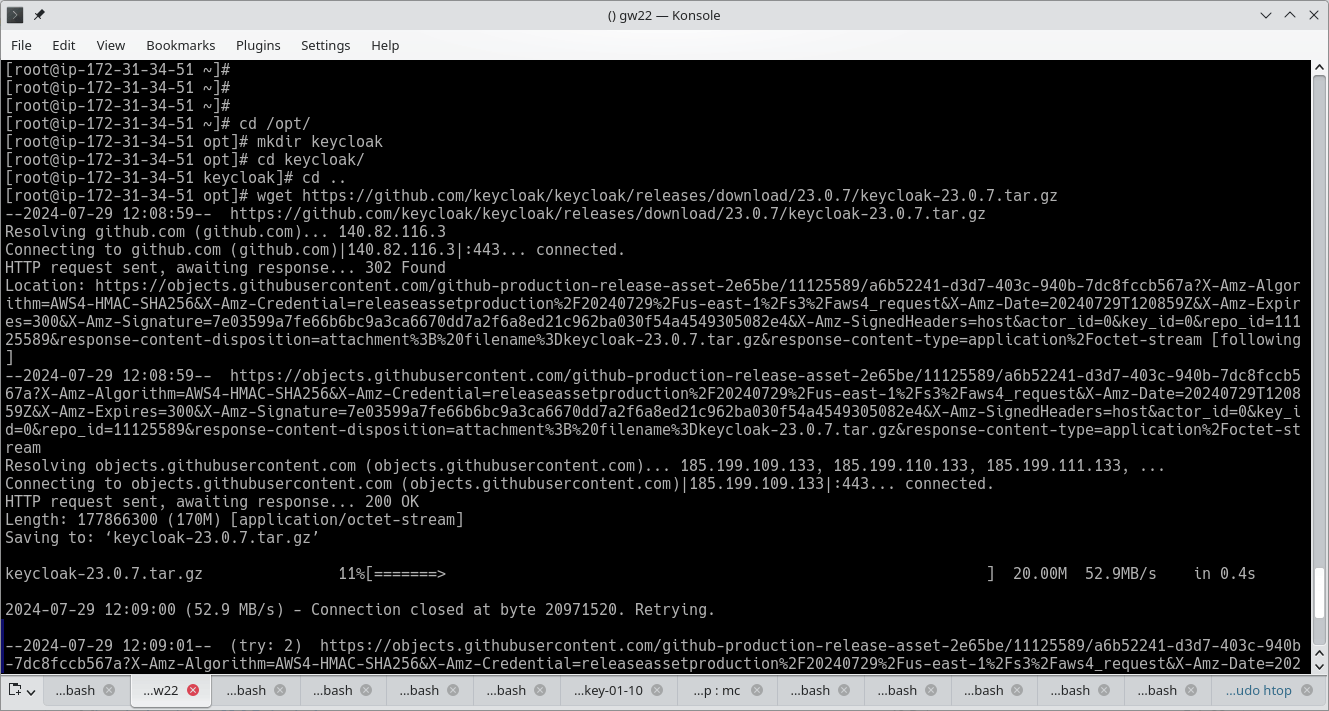
- Create a directory. Download Keycloak
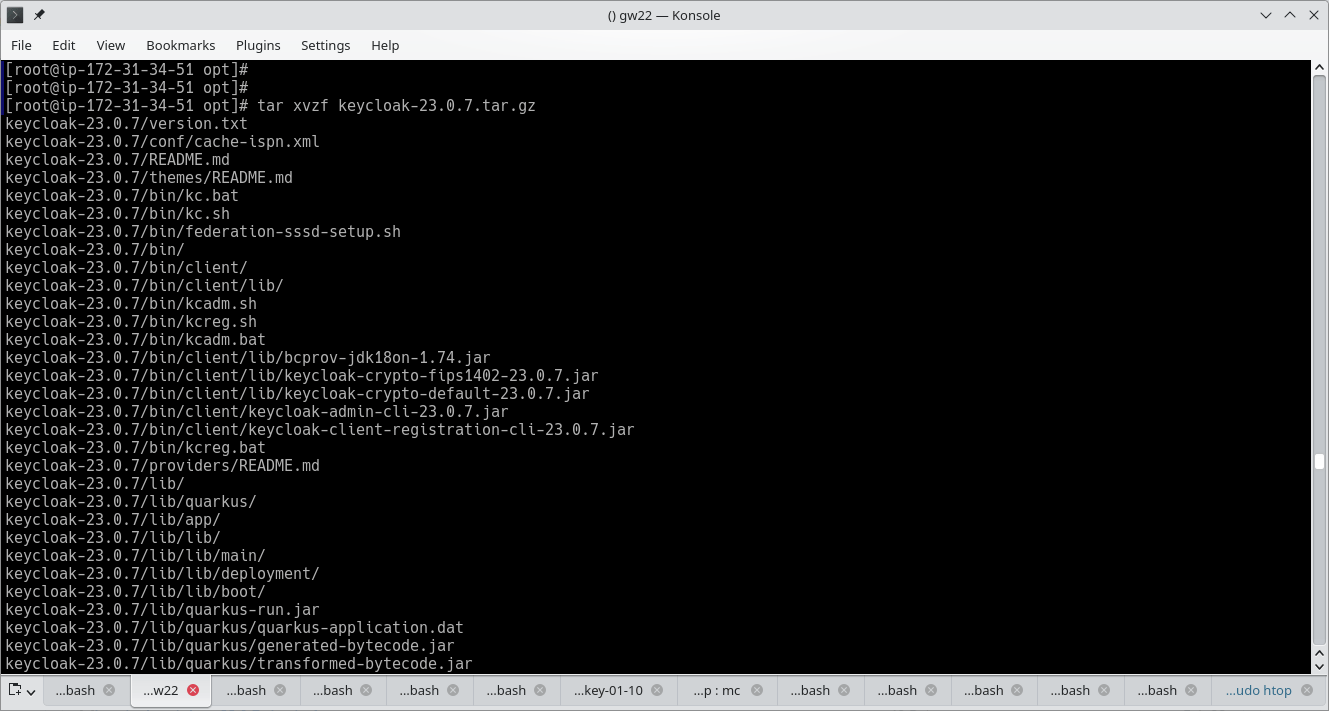
- Unarchive Keycloak distribution
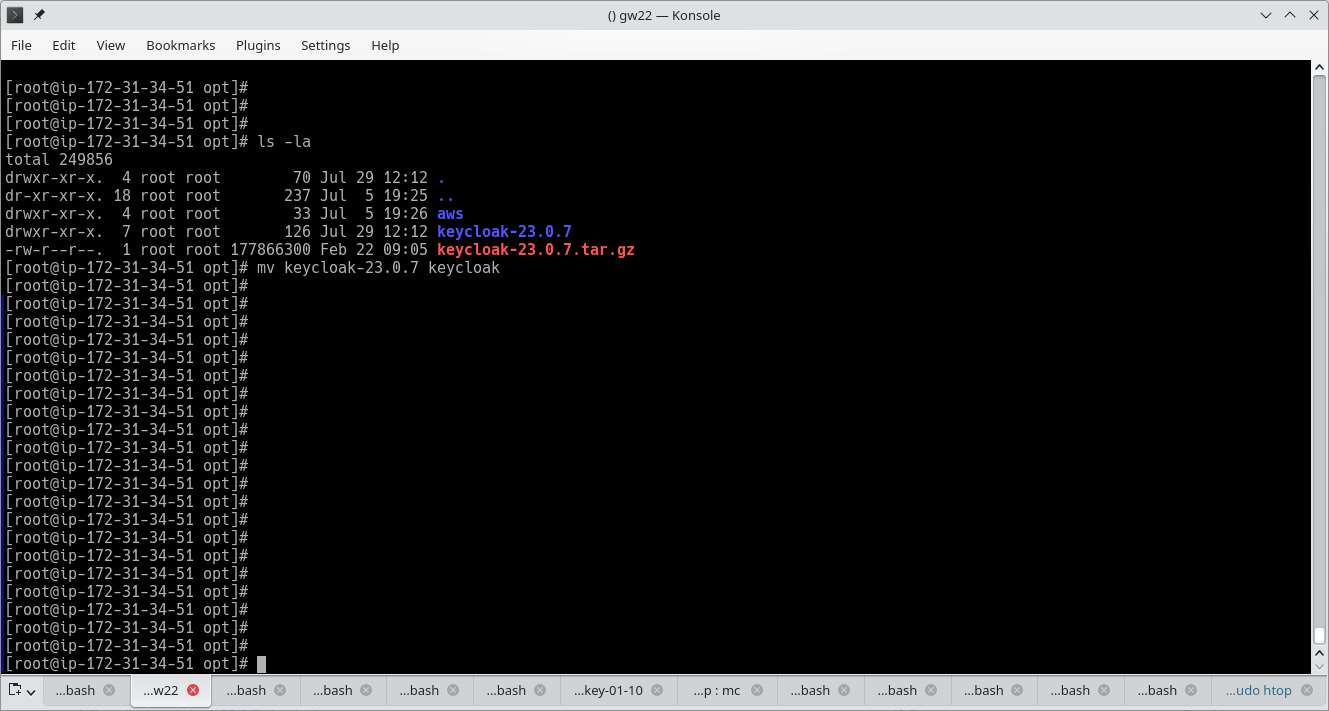
- Rename the directory
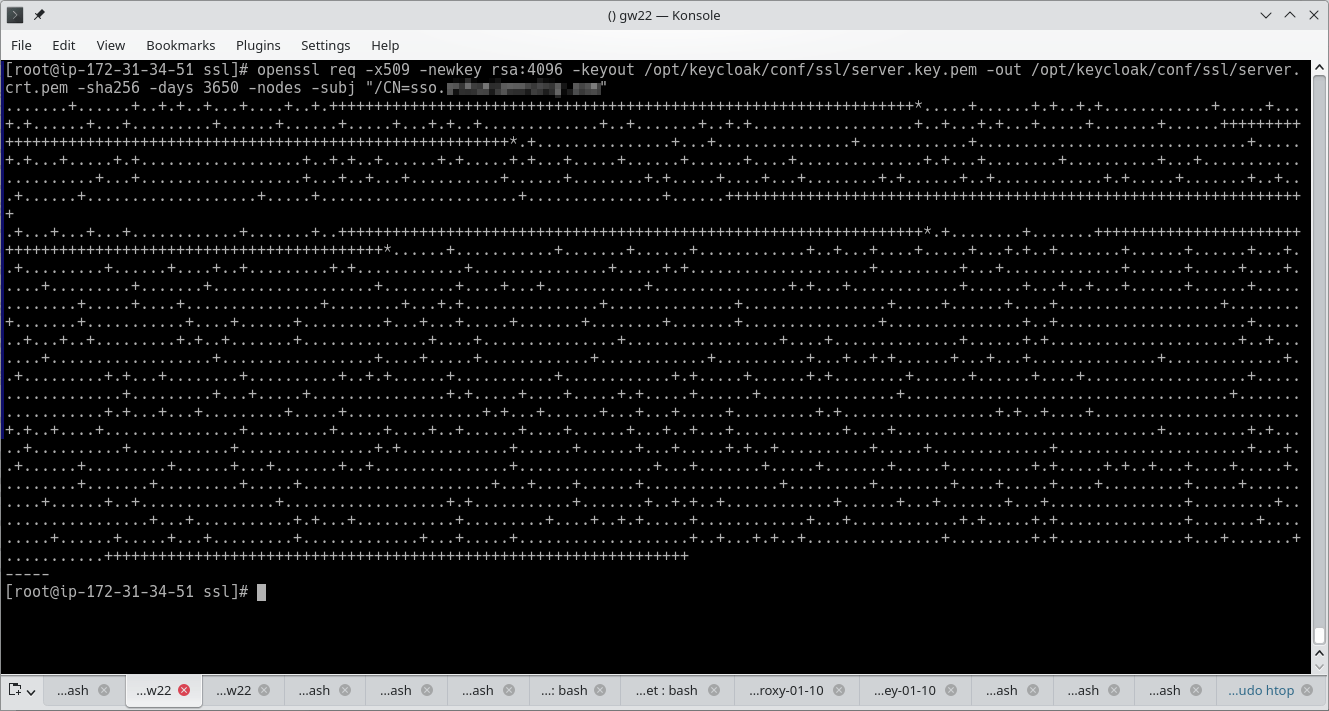
- Create a self-signed certificate
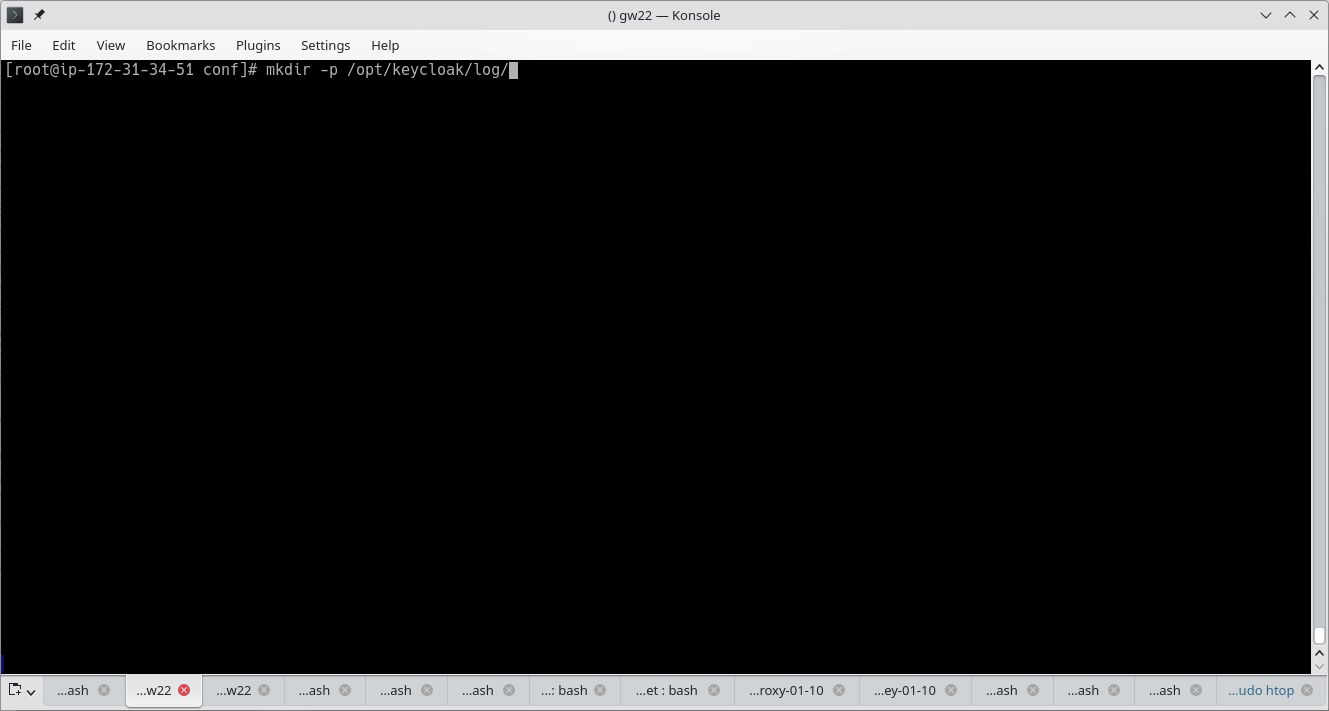
- Create a Keycloak log directory
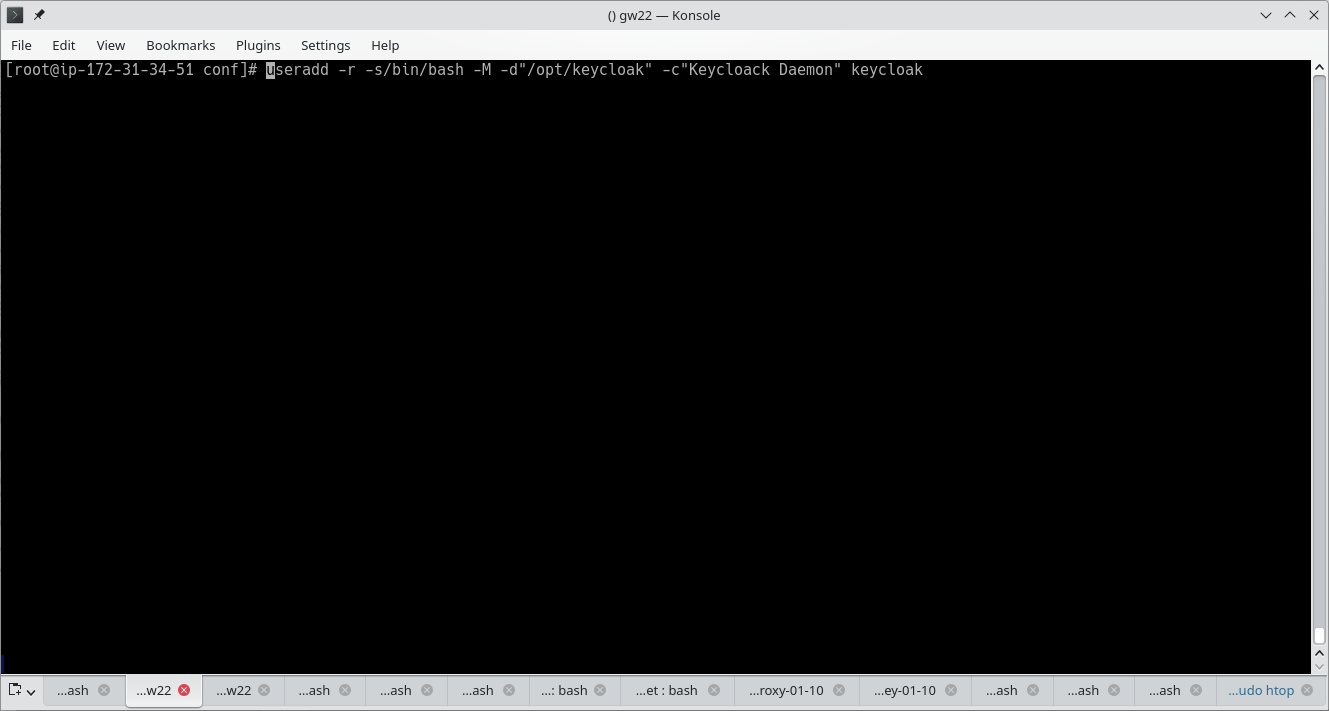
- Create a Keycloak service user
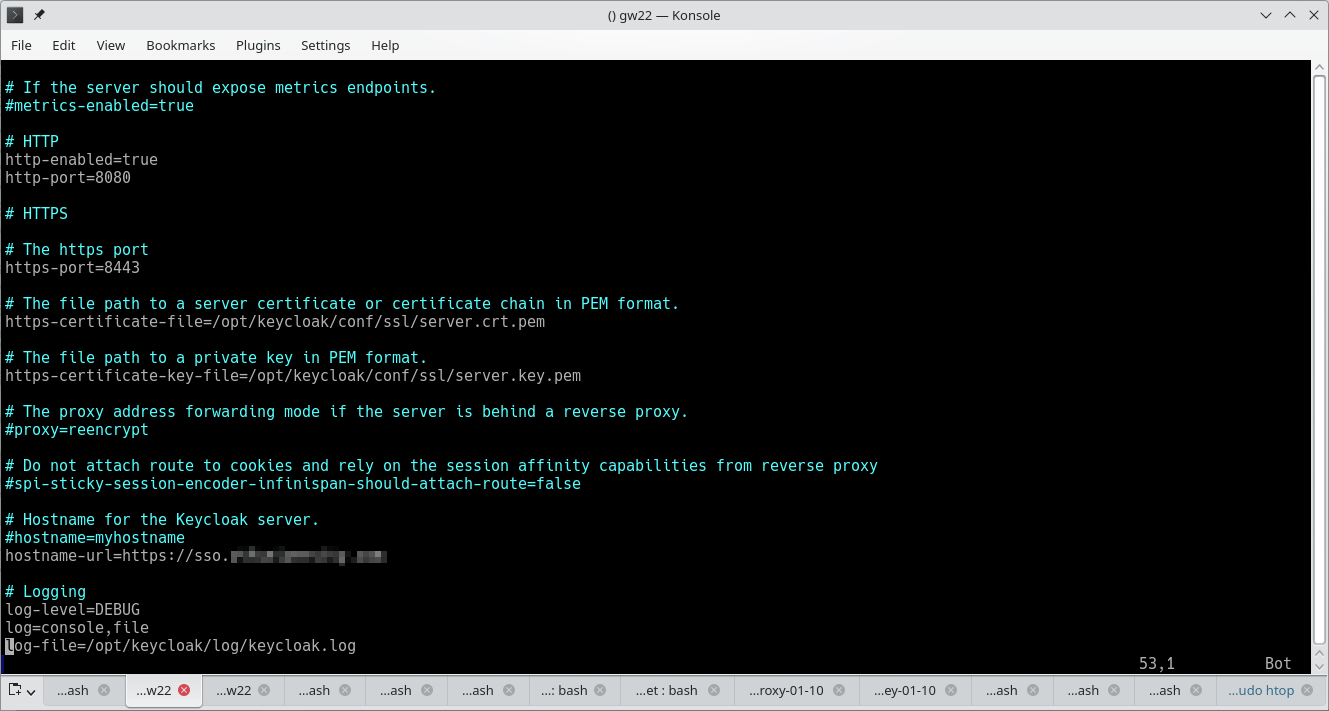
- Configure keycloak.conf for SSL
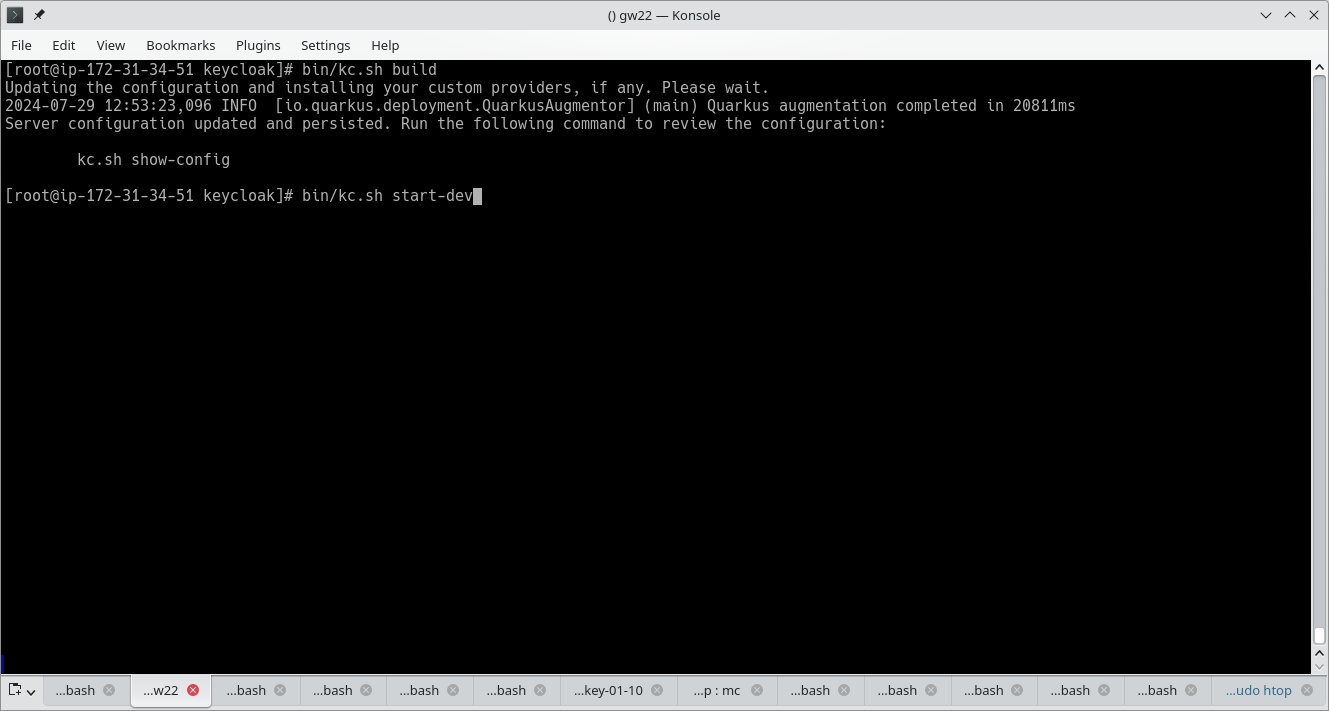
- Build Keycloak. Start developer mode
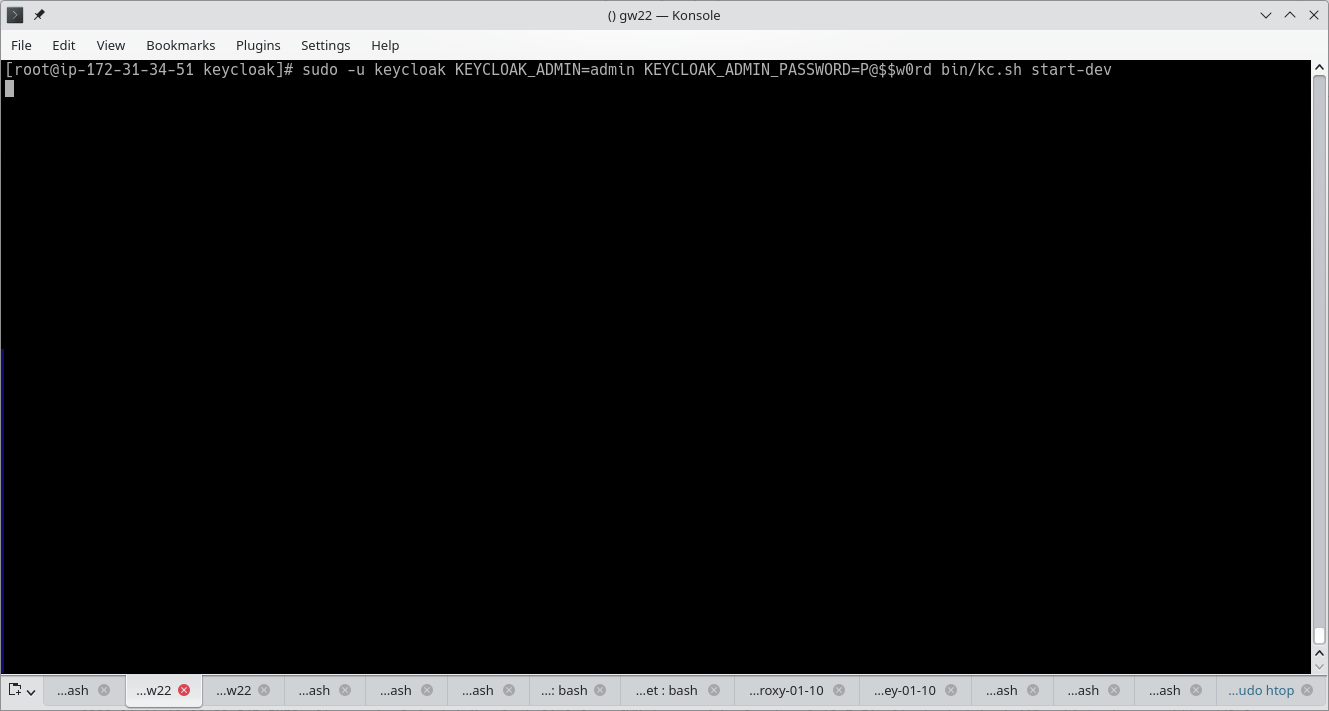
- Start Keycloak for the first time. Create an admin user and password
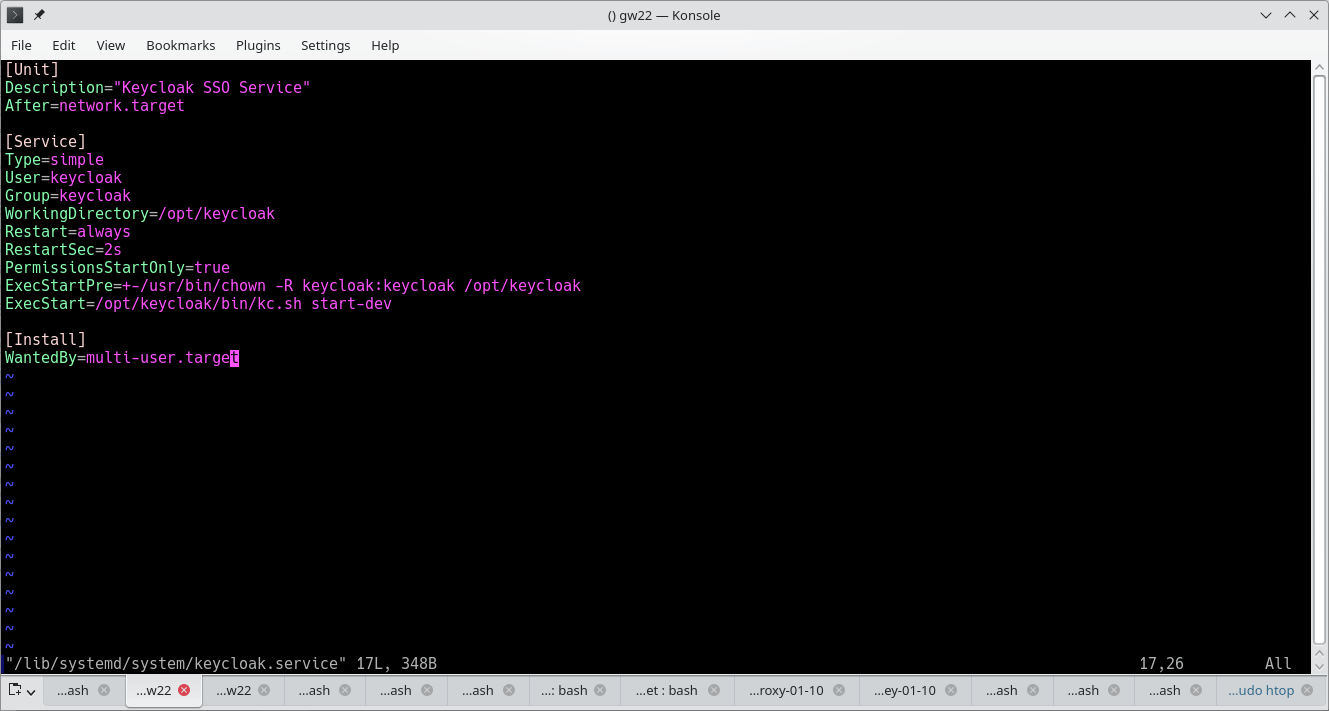
- Create a Keycloak systemd unit
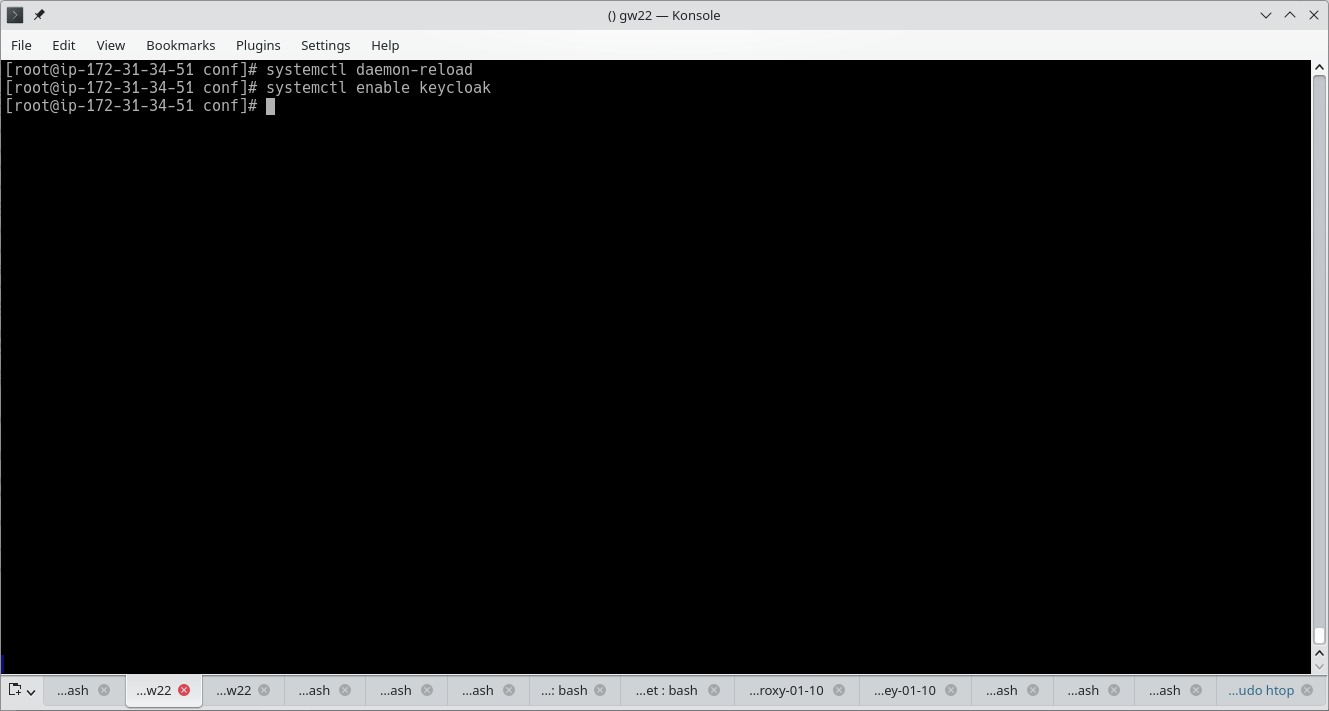
- Reload the system. Enable Keycloak service unit
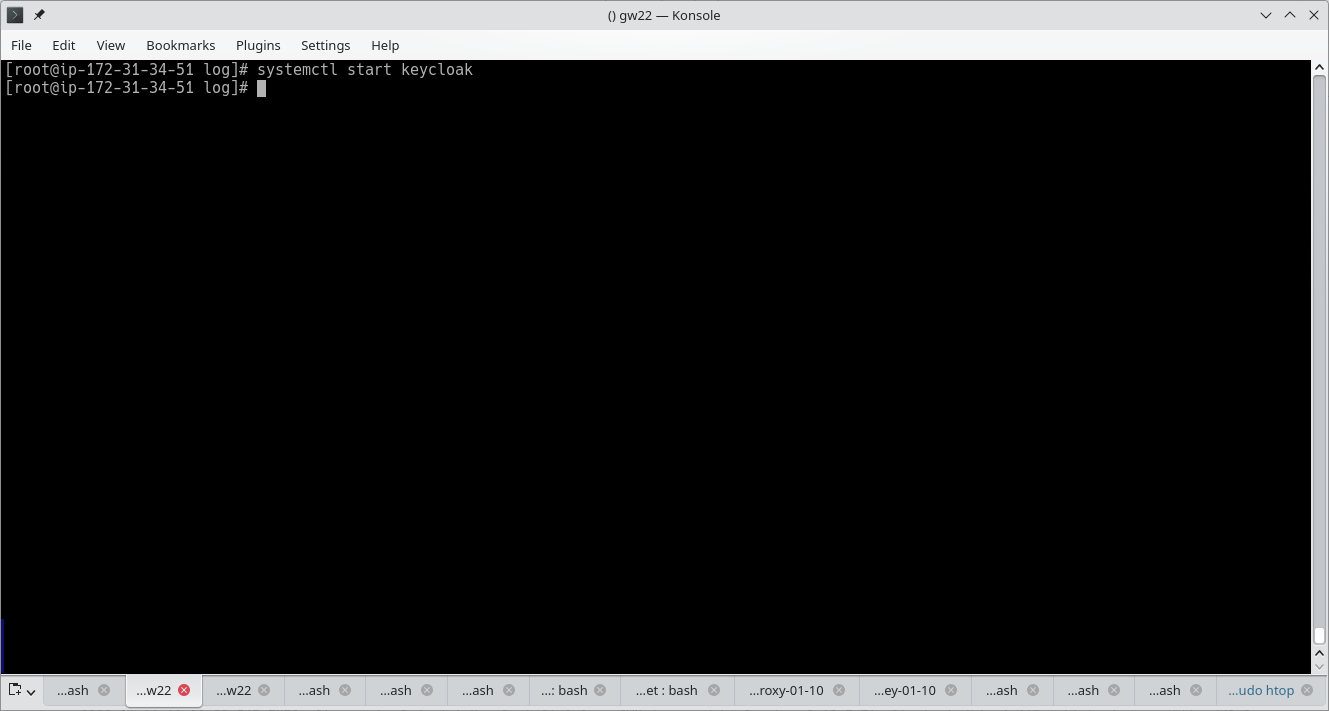
- Start Keycloak
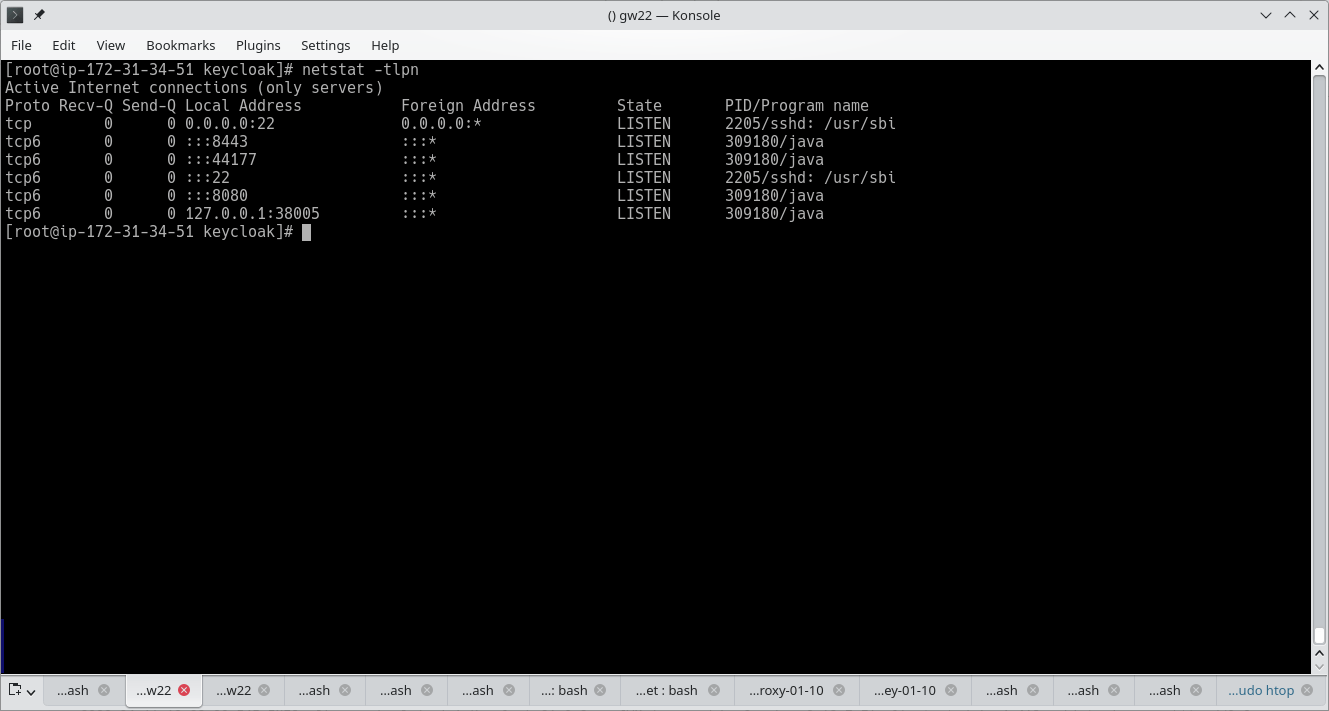
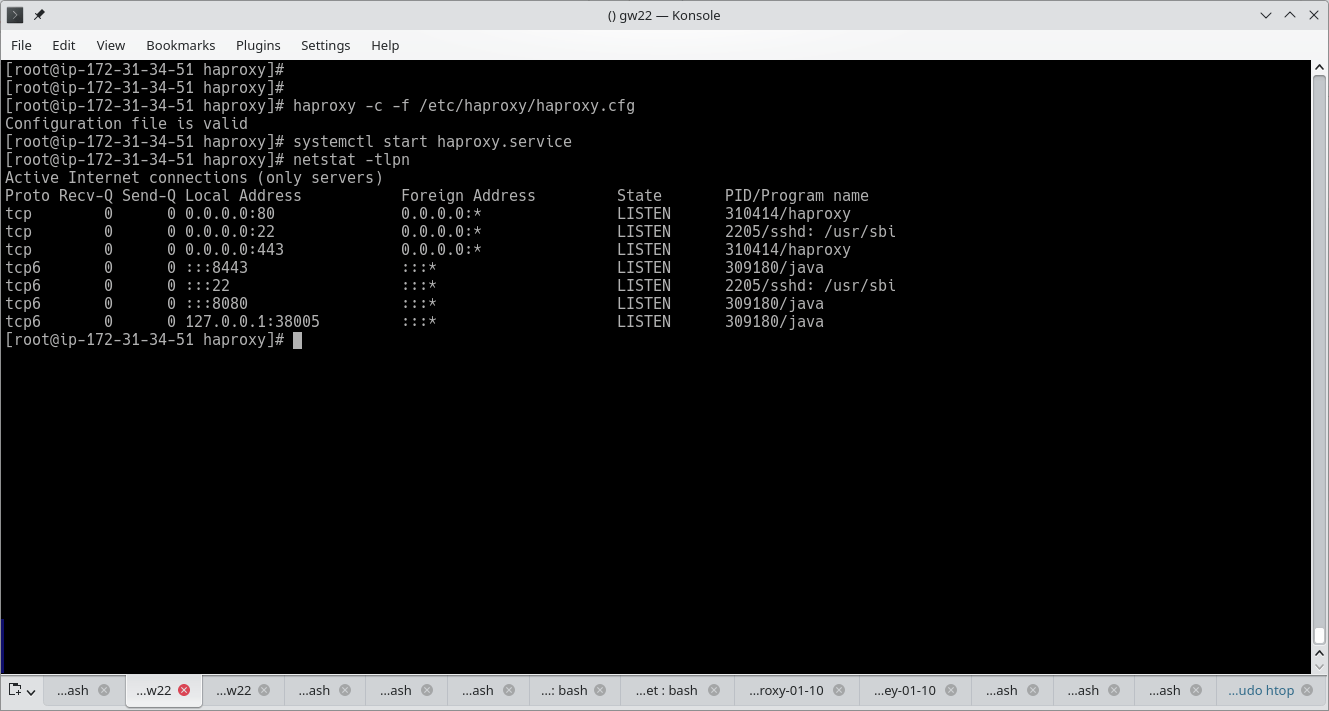
- Check if Keycloak starts and listens to the required ports
- Switch to the HAProxy configuration directory. Set SSL certificates to be used
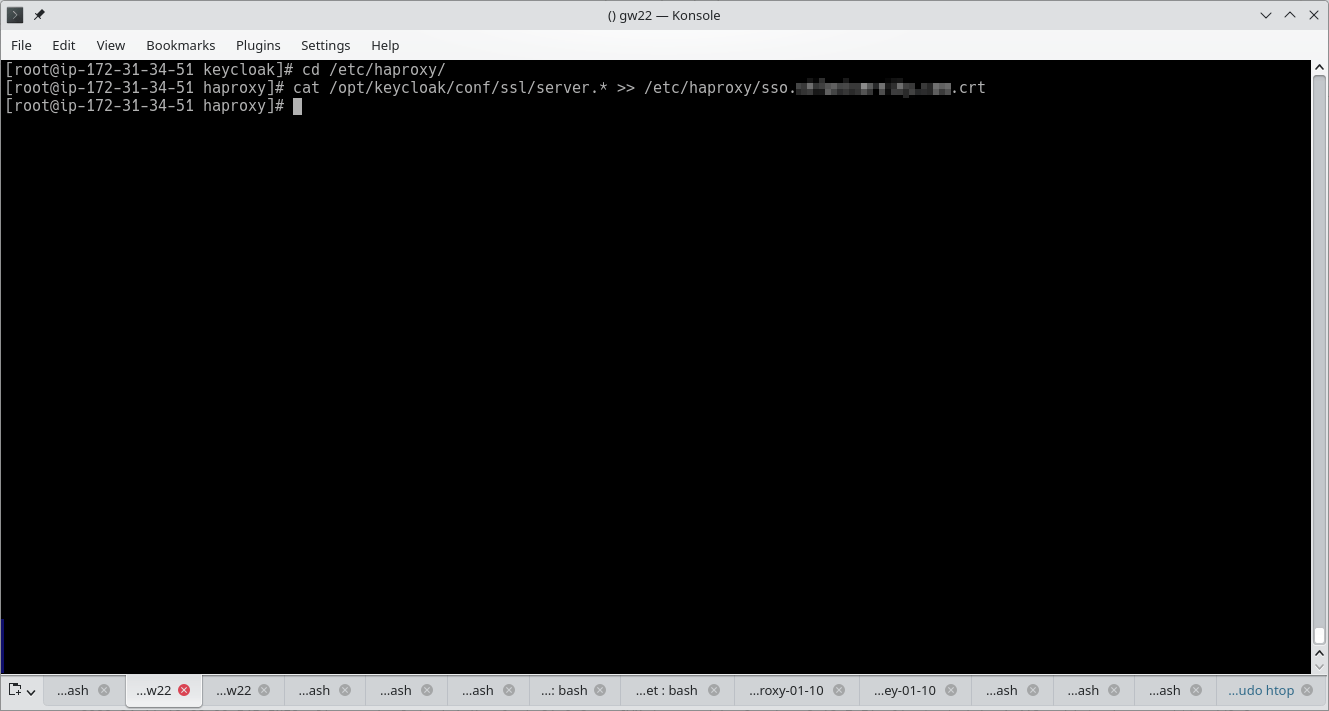
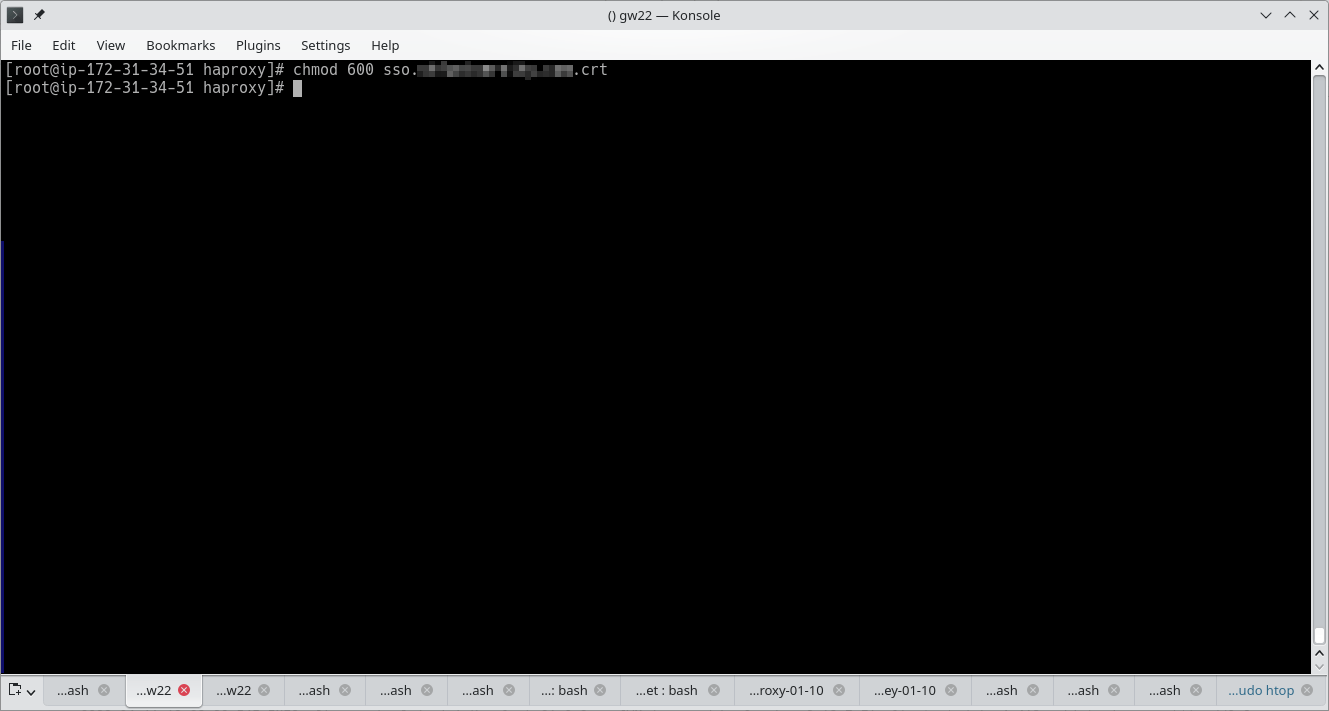
- Set HAProxy certificate file permissions
- Configure HAProxy as follows or as you need

- Check if the HAProxy configuration file is valid. Start HAProxy. Check if it is running
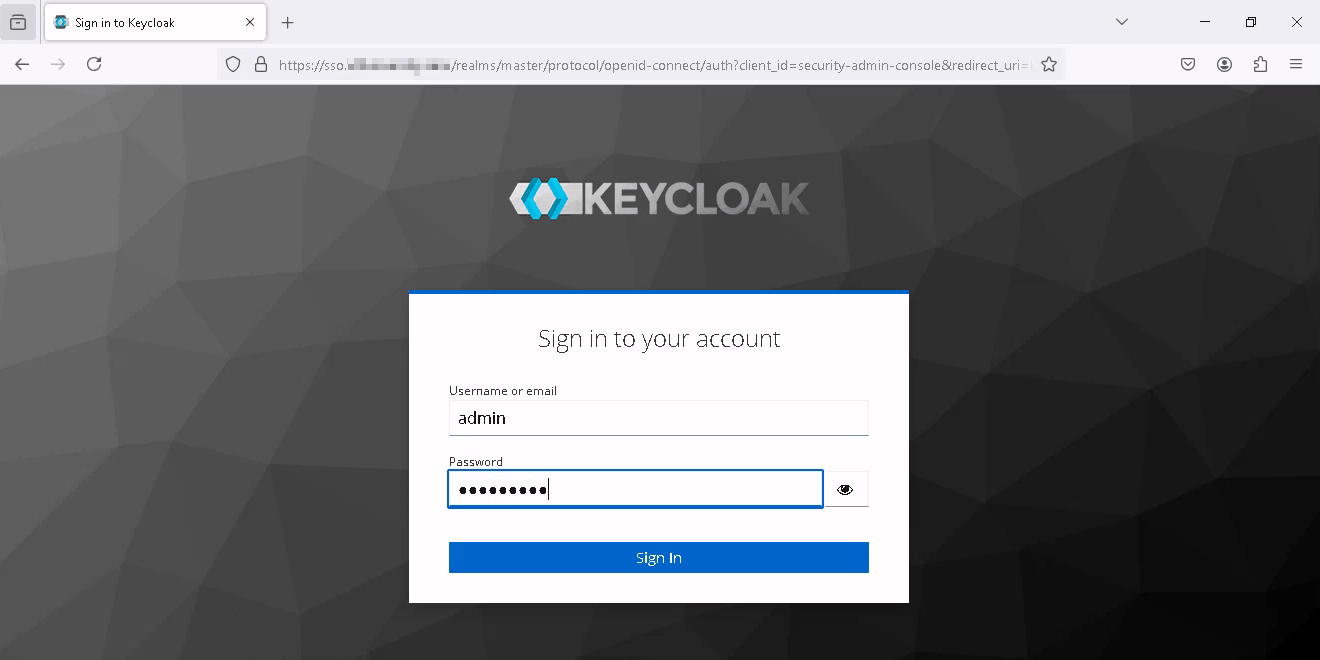
- Go to Keycloak Administration Console
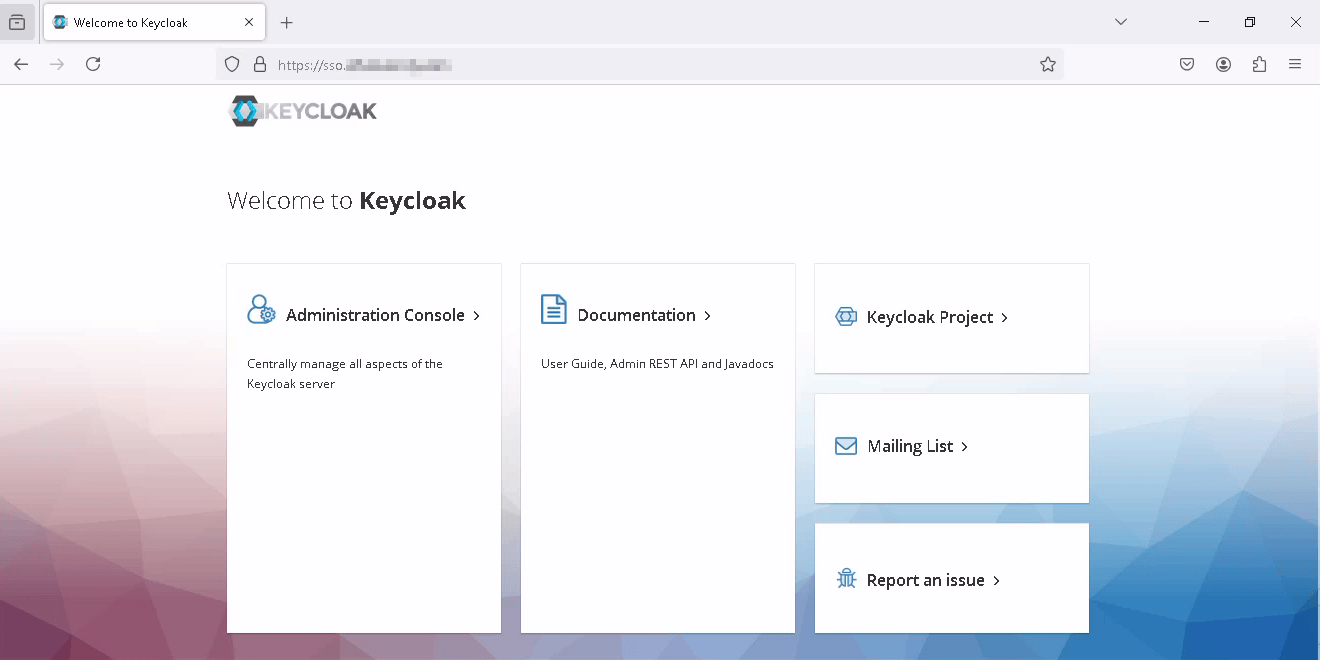
- Authenticate to Administration Console
WWPass Identity Provider Installation
You can find a detailed description here
- Download and unarchive WWPass authenticator
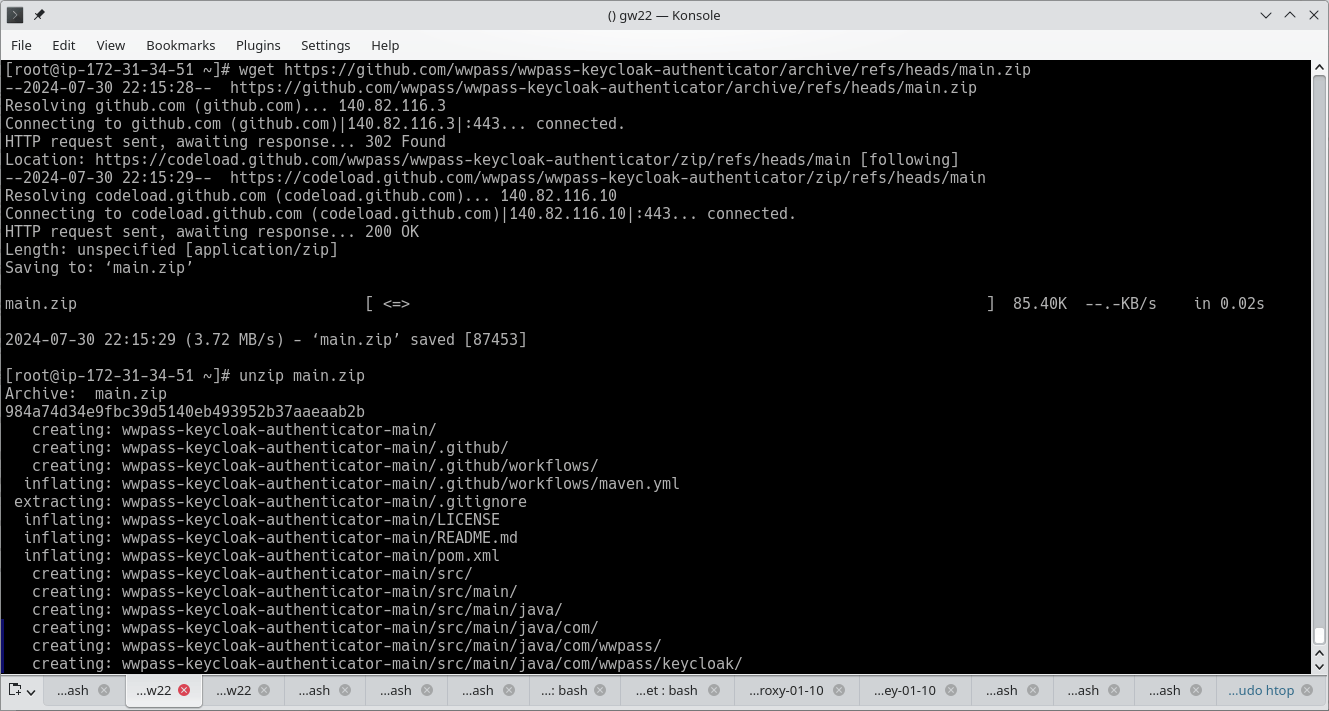
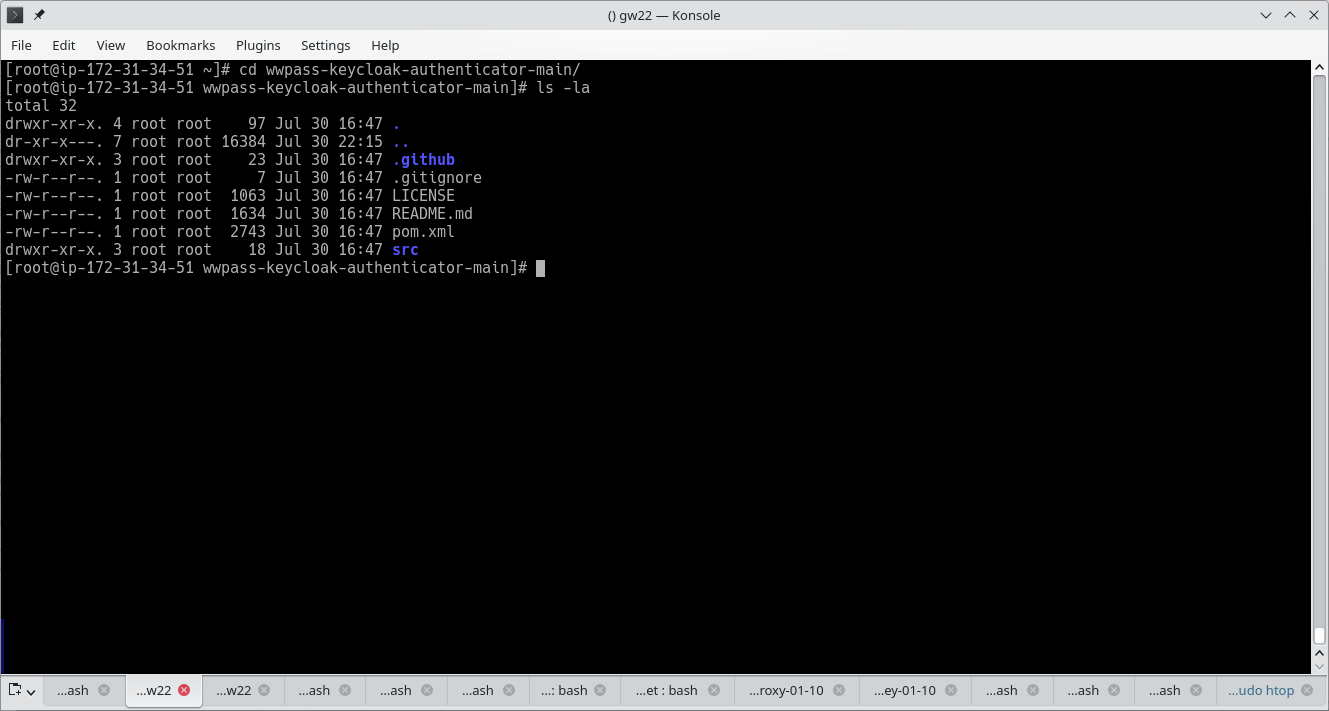
- Dive into the source code directory
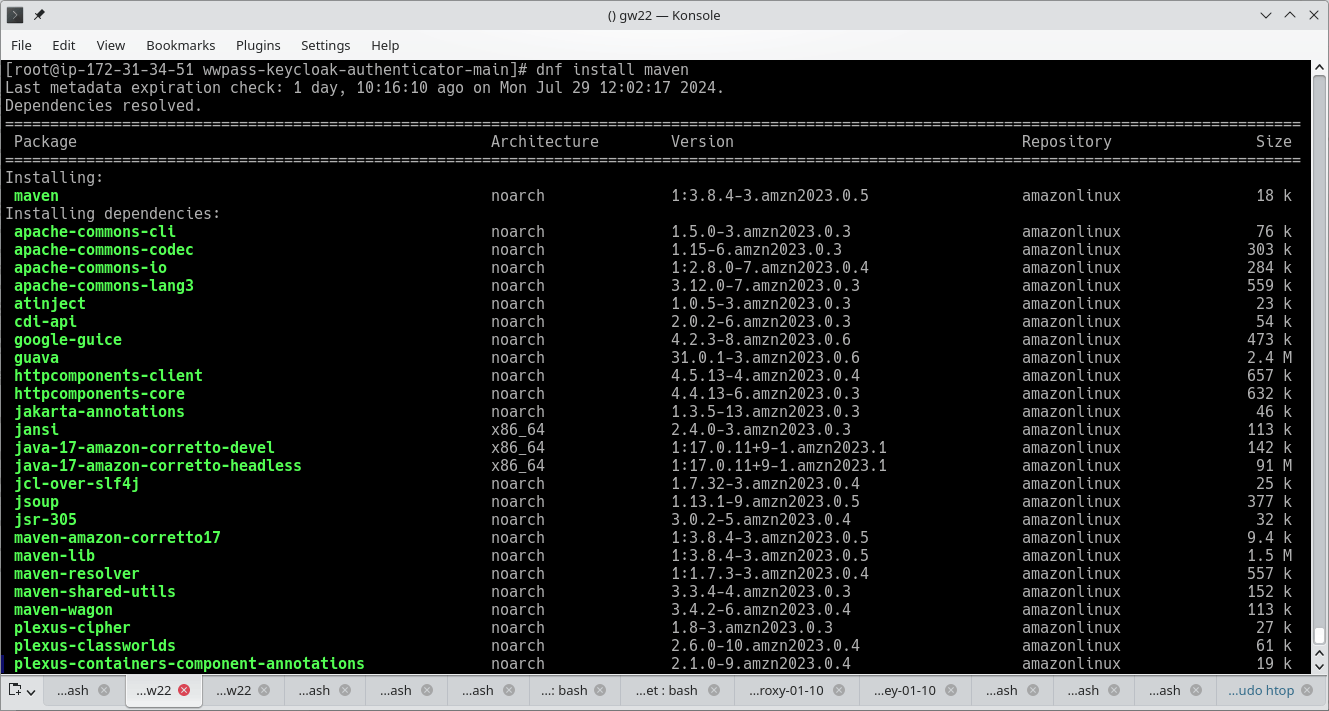
- Install Maven to build the WWPass library
- Set KEYCLOAK_HOME to your installation directory
$ export KEYCLOAK_HOME="<path_to_keycloak_root>"
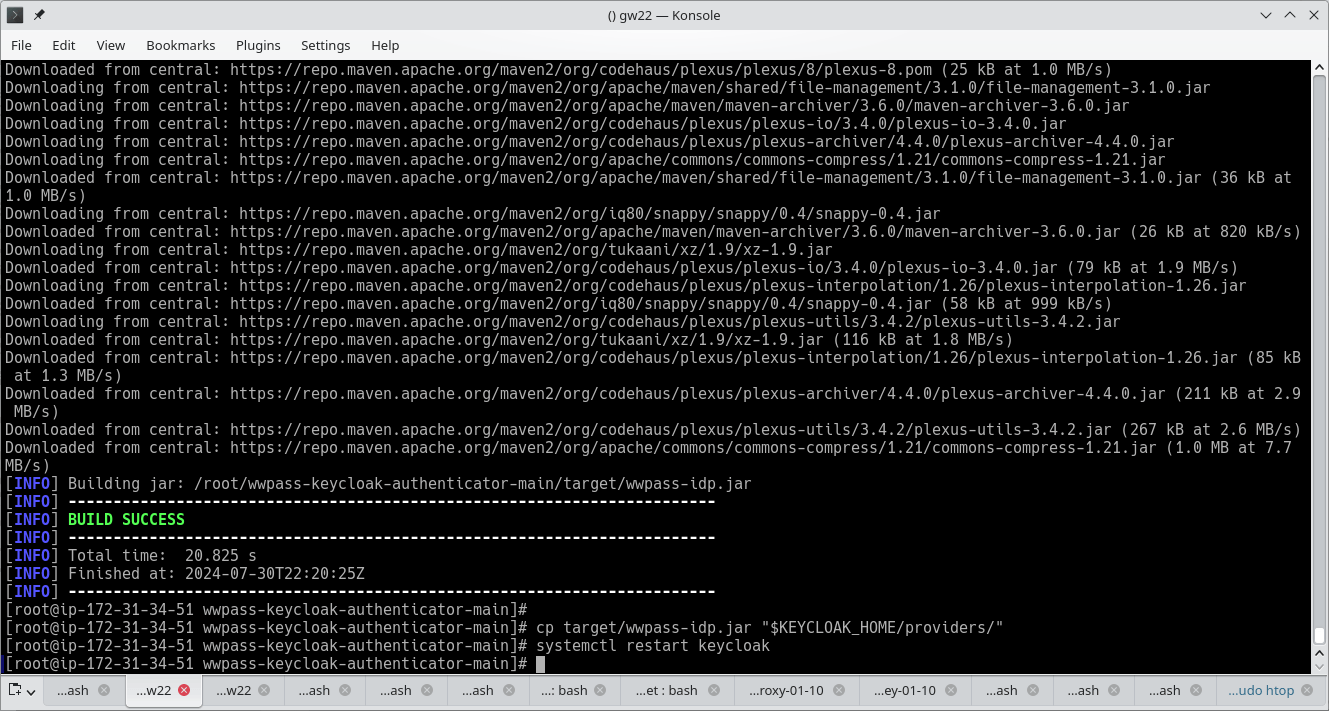
- Build WWPass authentication library
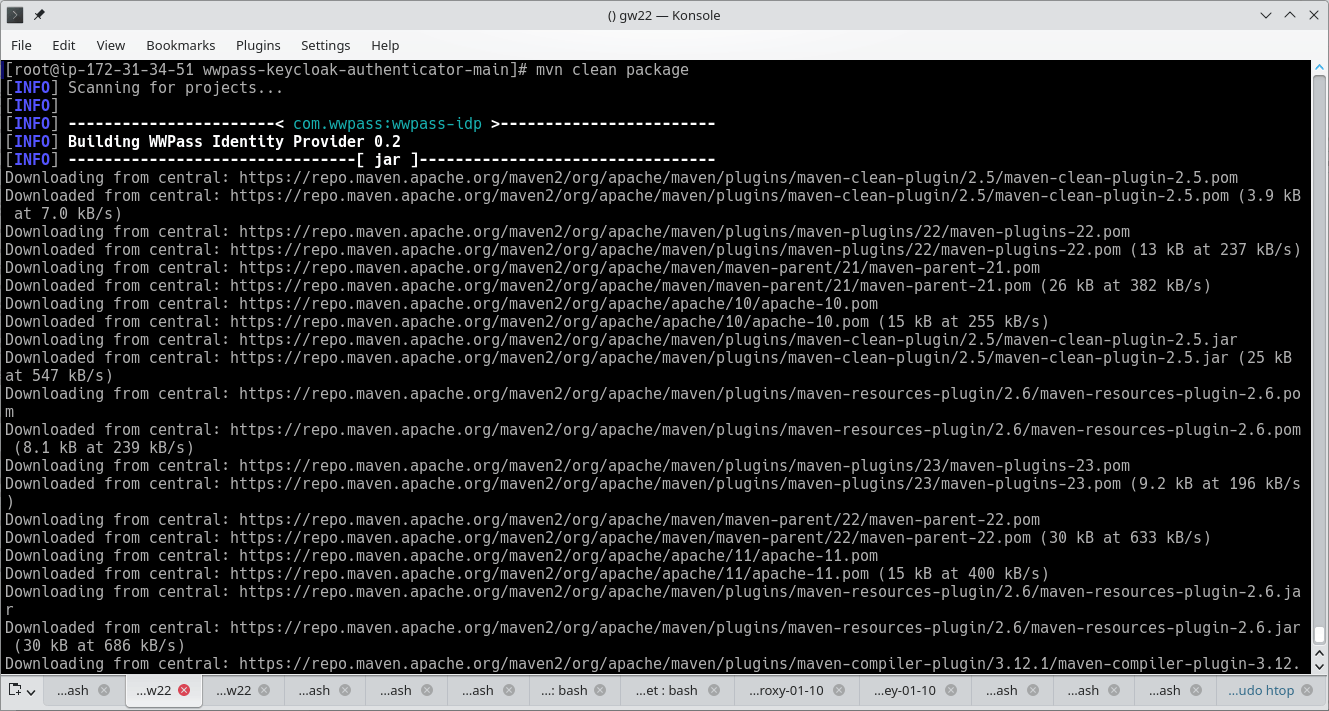
- Build success. Deploy the library to a destination directory. Restart Keycloak
Add WWPass Authentication Provider
-
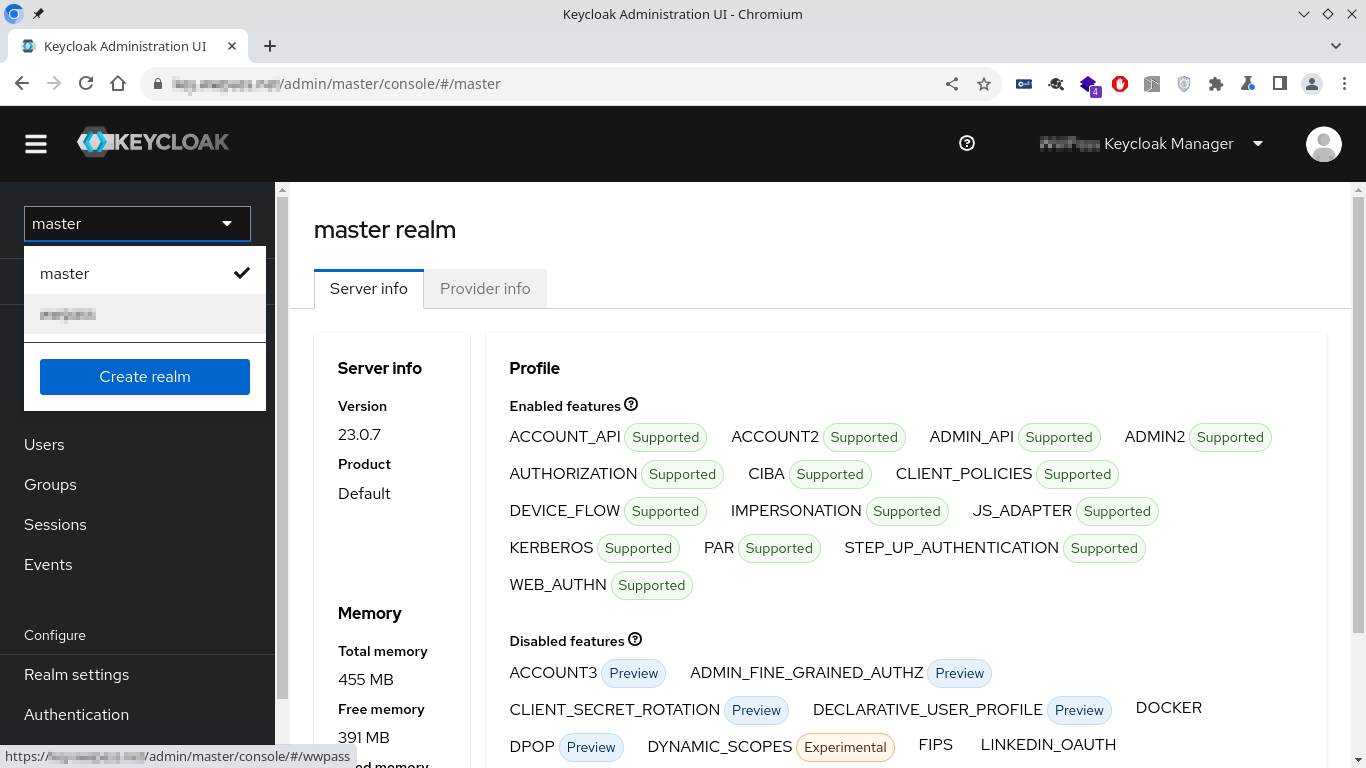
Login to the Keycloak Administration Console: https://key.example.com/admin/master/console/
-
Select a realm or create a new one
-
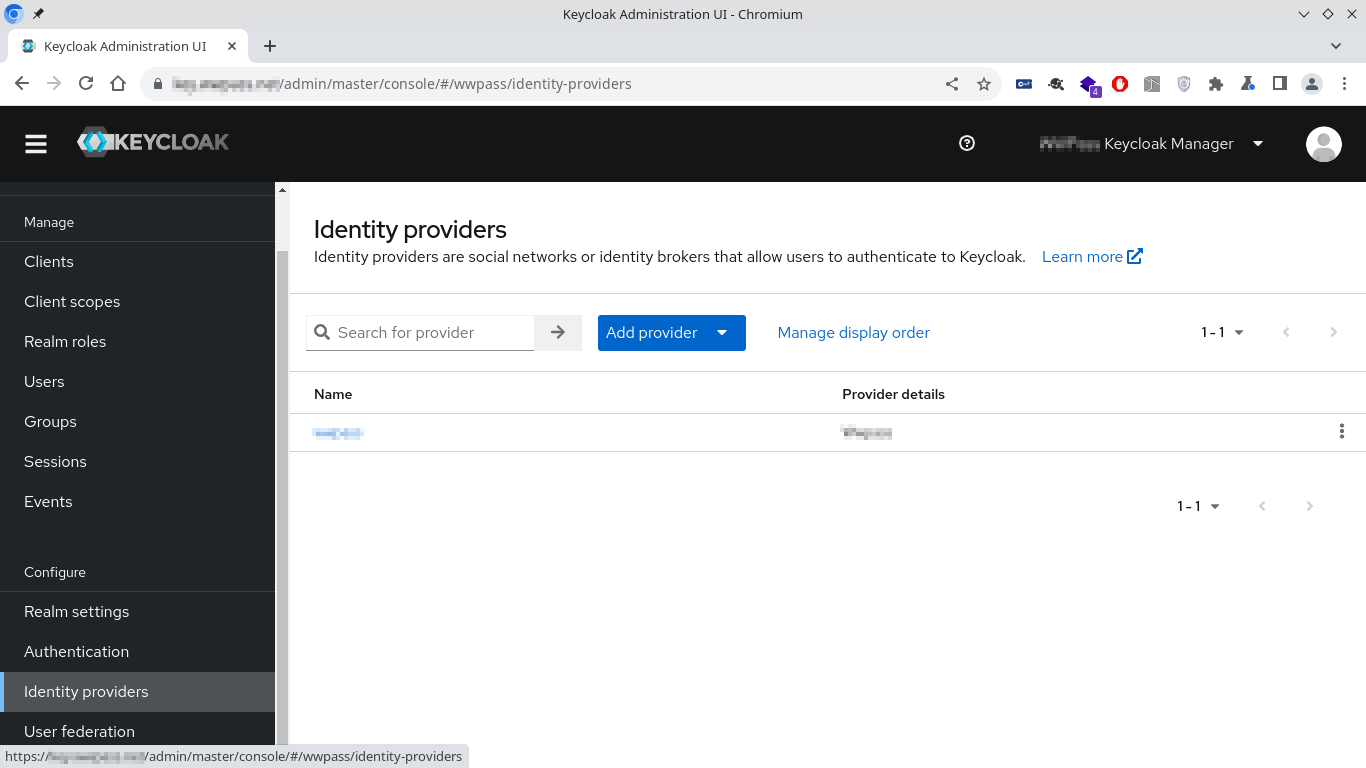
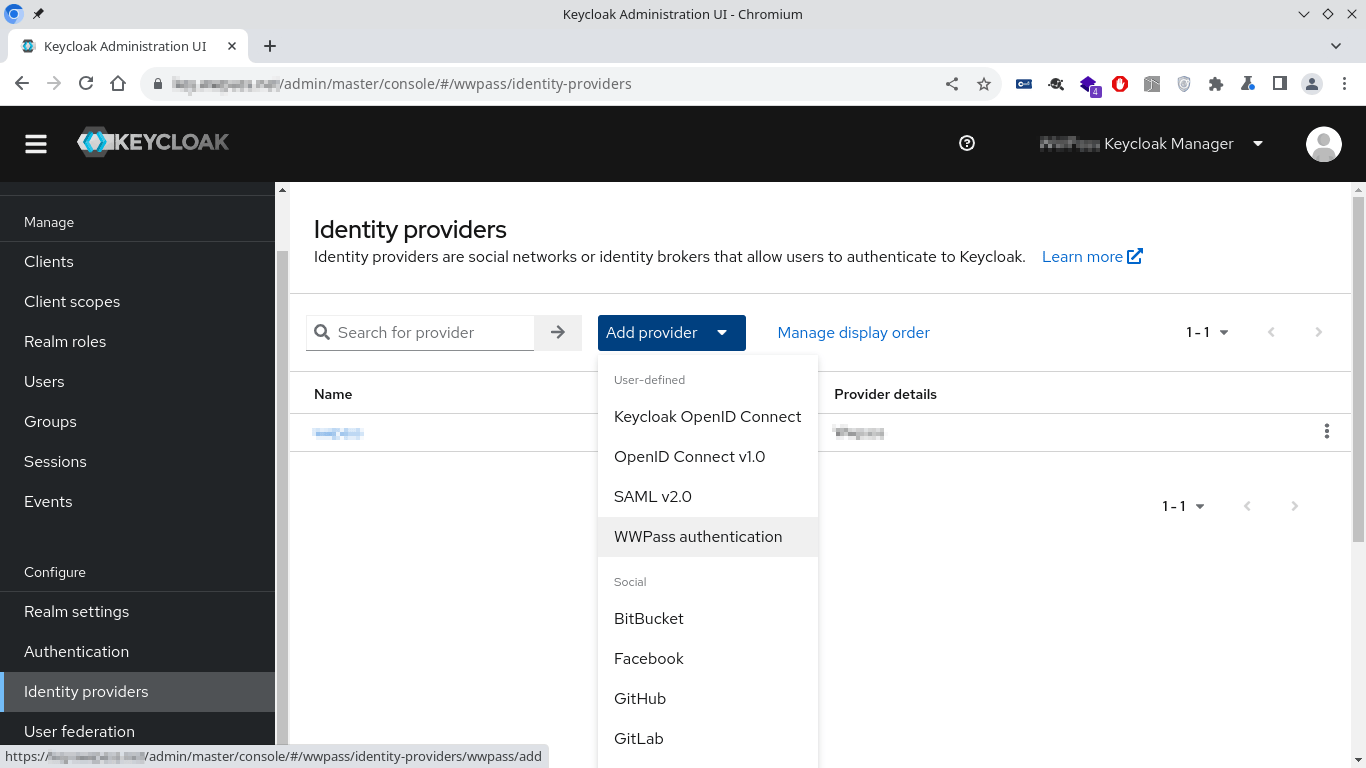
Click Identity providers in the Configure menu
-
Click the Add provider button. Select the WWPass authentication
-
Fill all the fields as follows
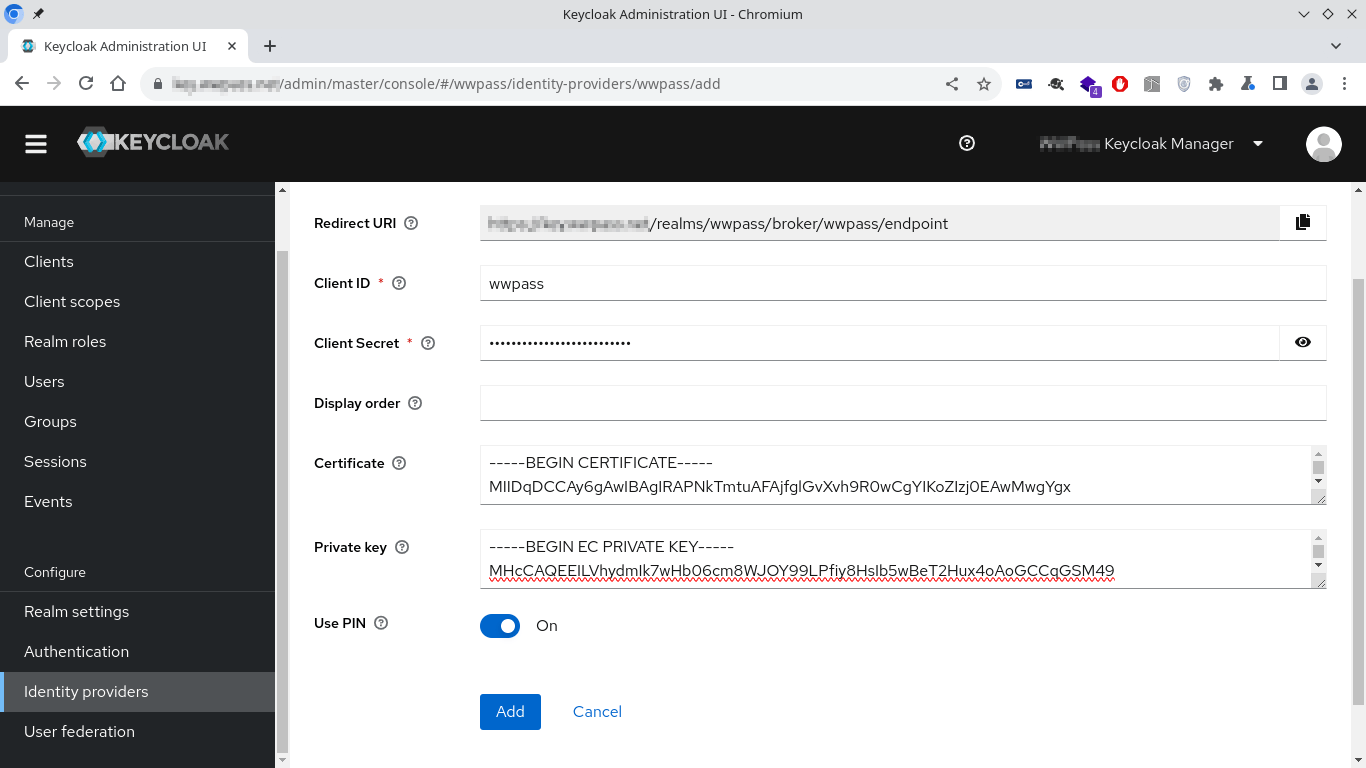 Fields description:
- Client ID – any string describes this Identity Provider, e.g. wwpass;
- Client Secret – any string (unused. Keycloak drawback);
- Certificate – WWPass SP certificate (obtain at https://manage.wwpass.com/);
- Private Key – certificate’s private key;
- Use PIN – option for WWPass PassKey application to request a PIN (turn on if needed).
-
Click the Add button to add the Identity Provider
-
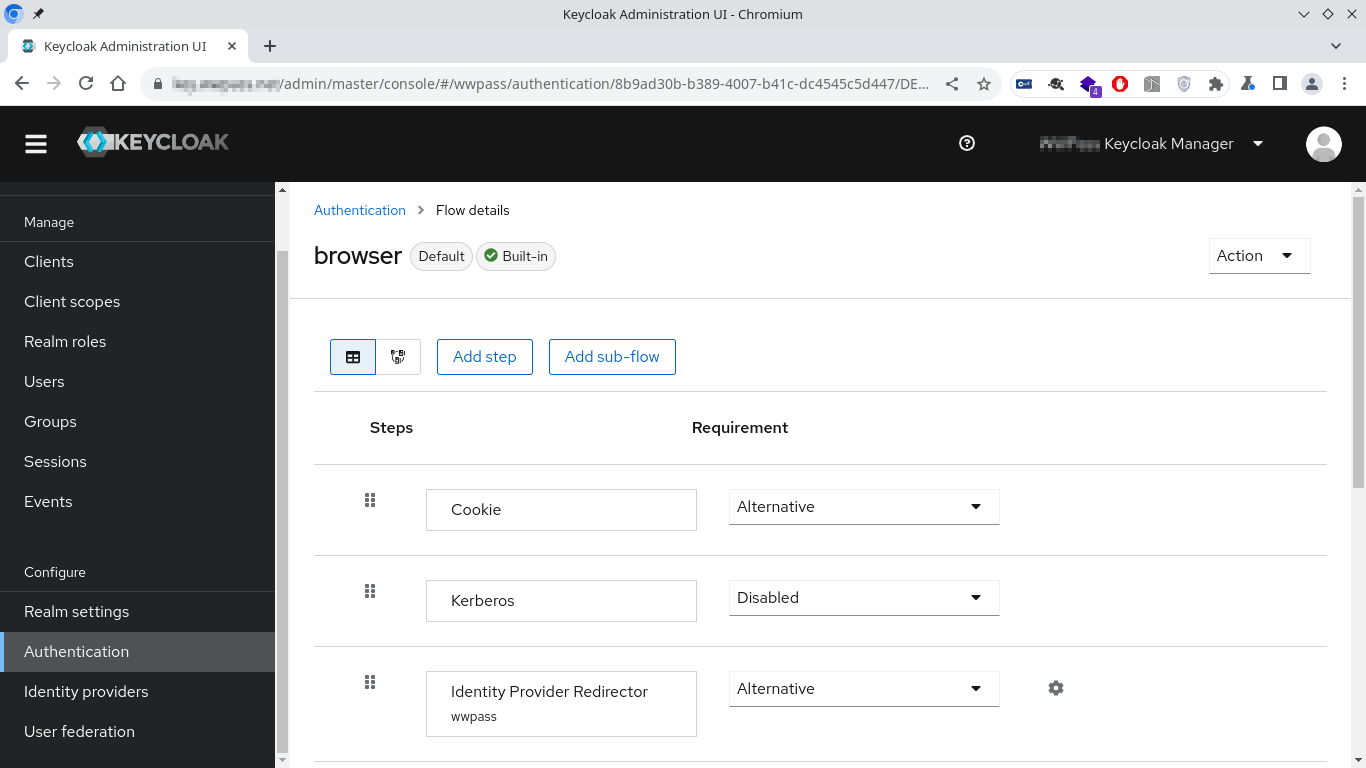
Switch to the Authentication in Configure menu. Click the browser link

-
Click the Settings icon next to the Identity Provider Redirector
-
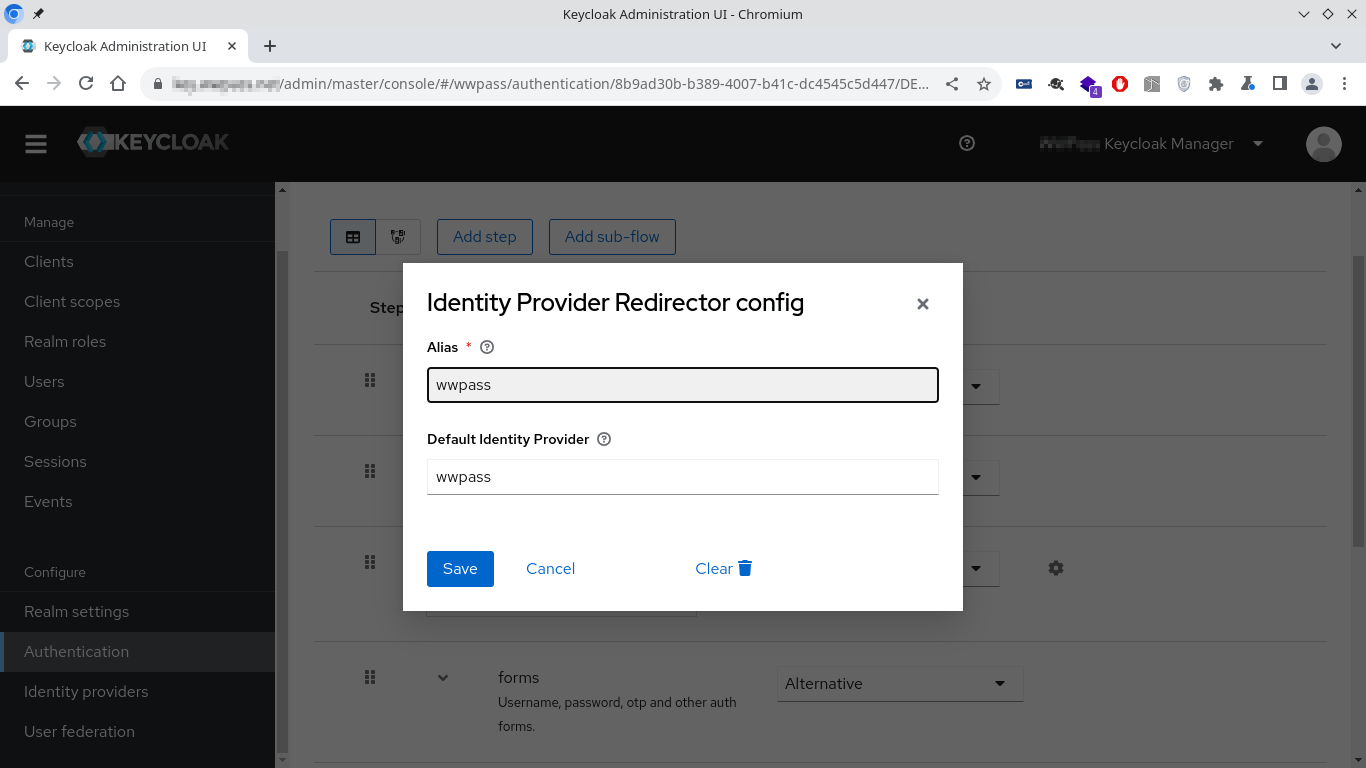
Add wwpass as the Identity Provider Redirector
-
Click Save to save changes
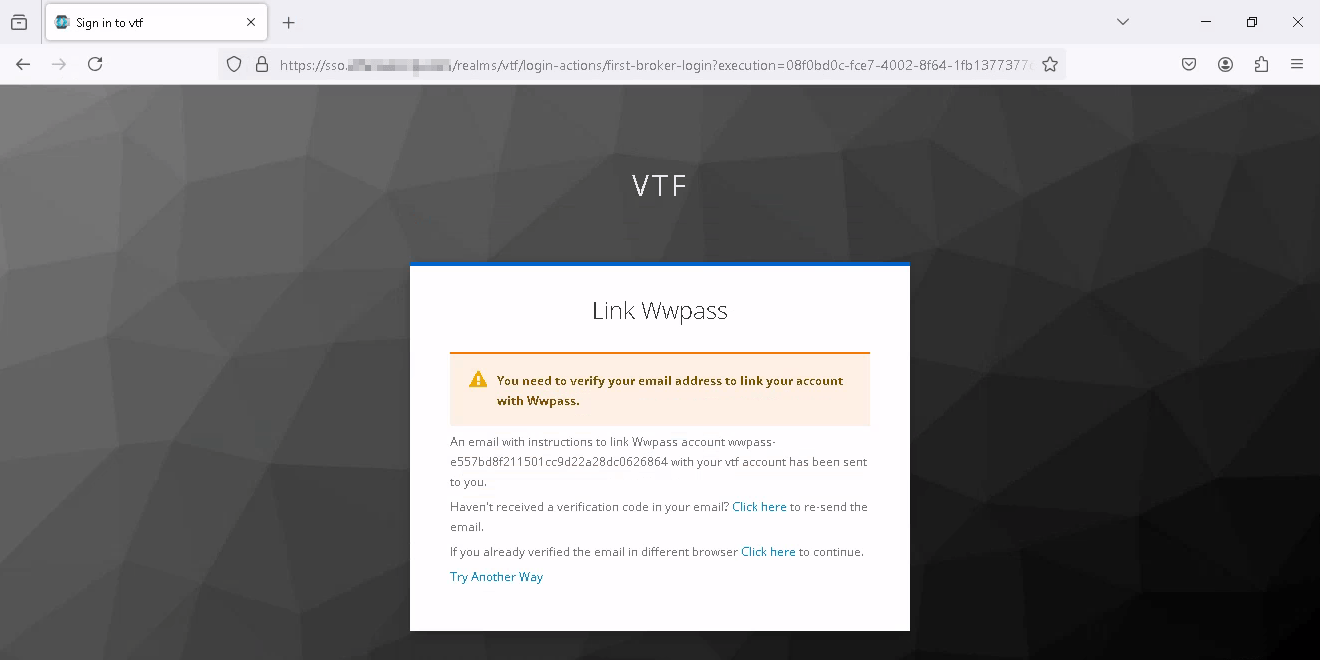
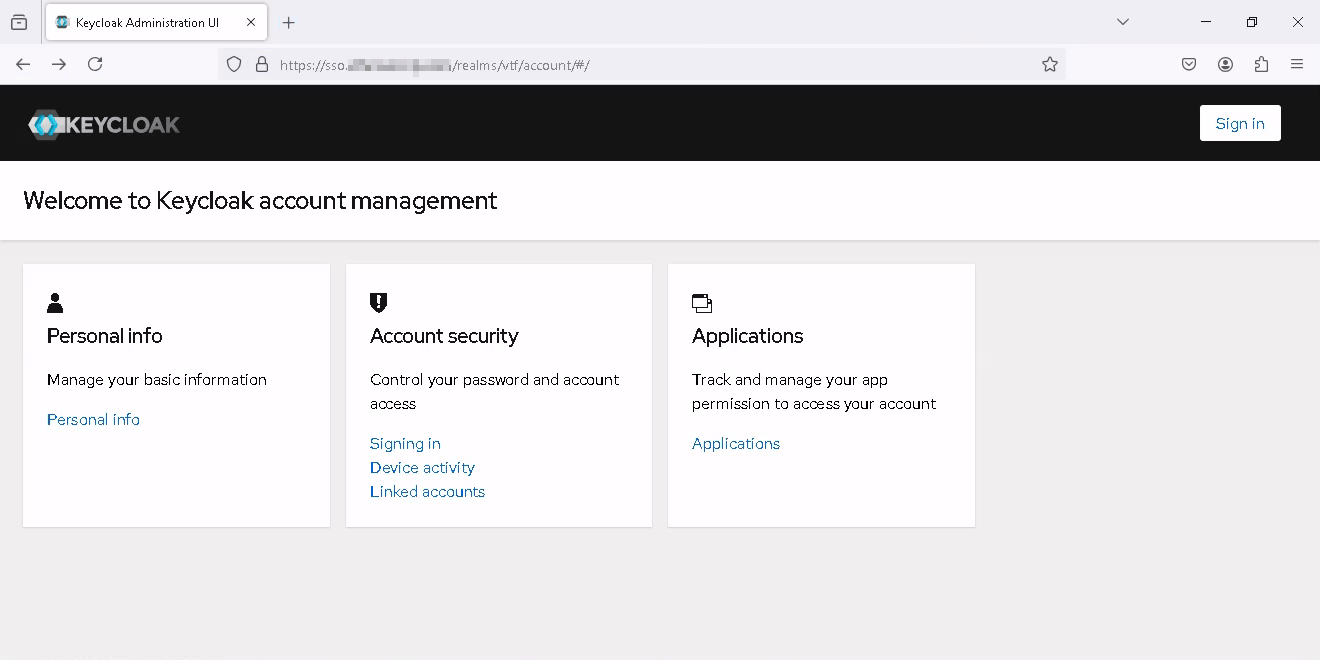
Attaching Keycloak Account to WWPass
- Sign in to Keycloak
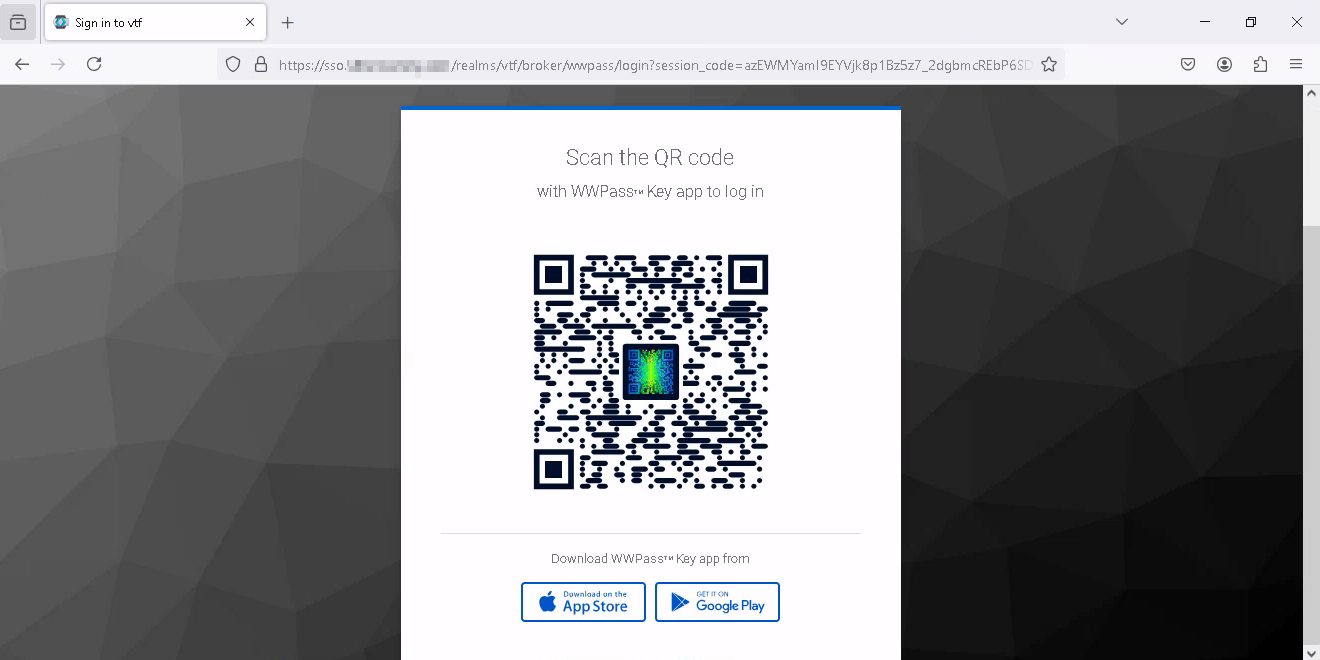
- Scan the QR code
- Fill out the Account Information form
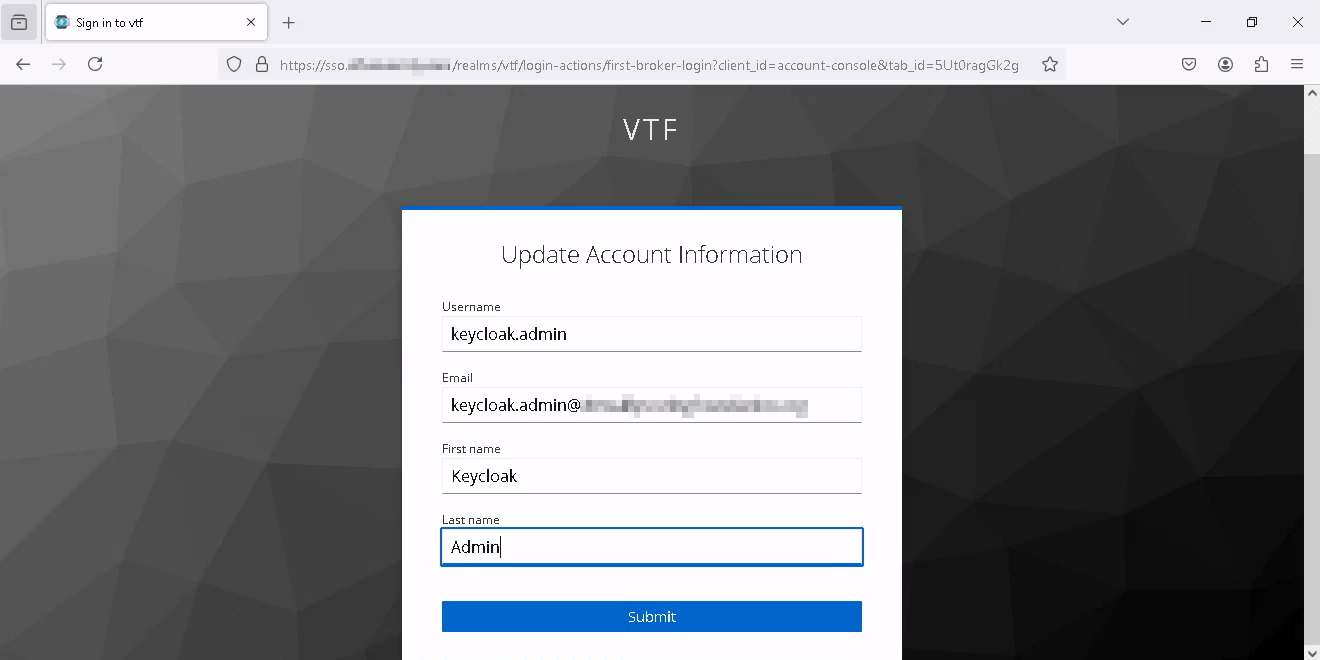
- Click Add to existing account

- The binding result