Note: If you download a certificate from a third-party, do this using Firefox as the web browser on Windows, Mac or Linux or Internet Explorer on Windows.
Follow the steps below to import a certificate for use with your PassKey.
Steps are performed from the WWPass Dashboard, which is included in the WWPass Security Pack.
Before you import a certificate:
After you import a certificate:
Note: If you download a certificate from a third-party, do this using Firefox as the web browser on Windows, Mac or Linux or Internet Explorer on Windows.
 .
. .
.

 .
.  .
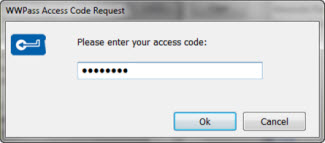
.Enter the access code for your PassKey and click . The certificate is imported and shown in Dashboard's Certificates tab and Thunderbird's Certificate Manager.